Showing posts with label Gaming Terrain.. Show all posts

Monday, February 26, 2018

The big one!


Spring break has arrived, and that means I have time to paint! Time to try and get 6 months of painting done in the next 5 days.

So let's start things off right with the third and largest piece of terrain. I went with a stucco look on this one which I think will be a great contrast to the grey stone on the other pieces.

One thing that was a departure from my normal painting on this one was that I got to try out Scale 75 inks. I gotta say, I love em. They blend smoothly into the paints and the visocity is spot on my needs. I was able to blend P3 Menoth White, and a brown Scale 75 ink to make the stucco look just about right. 


So here are the pics. Hopefully, I'll have a bunch more at the end of the week. 

(Model in the picture is for scale on this one). 


Monday, December 11, 2017

Let's talk Terrain.

Over the last few years, some tabletop games have been moving over to using 2D terrain for wargaming. While I think it's a great for tournament organizers in so much that it's much cheaper, faster to setup and frankly less taxing on your painted models, I feel that it just looks and feels less immersive in the world that we create through our games. With this in mind, I set about trying to find great looking pieces of terrain that were also budget friendly.  If you have ever searched for resin terrain you will know just how expensive it can be, I stumbled upon Table Top World and I was just blown away. Their pricing is actually quite reasonable and the pieces are incredibly detailed (even the insides had details added!).

I chose the Inn as my first piece, mostly because I really like the look, and secondly because it was half off on Black Friday.

So here is what the resin looked liked naked. I found no mold lines and the only bubbles were tiny and on the bottom where no one will ever see them.


After a nice bath in warm water and Dawn dish soap to remove any leftover mold release, it was time to prime. I used Badger Stylrenze black primer on this (like everything else really), and let the primer cure for 24 hours. I then used Vallejo - Game Color Pure White to zenithal highlight before painting. I love this technique as it shows you right were your highlights and shadows need to be.


I started with the roof. I wanted to achieve an almost thatch feel to it, even though it's set up as wooden boards I figured the same type of coloration would really add to the overall look. For this, I started with Vallejo Model Color - German Camo - Medium Brown. for the exposed boards under the roof I used P3 Bloodstone. I carried the same color for the exposed wood on the sides of the house in these same colors. For the stone, I started with 3:1 Vallejo Model Color - Black Grey: to Vallejo Game Color - Stone Grey. I worked it up from there to a dry brush of 1:1 in the same colors.


After that t was time for the first wash. I used a basic wash of GW - Agrax Eathshade. On a model I'd generally use an oil wash, but this is a terrain piece and frankly, I didn't feel like varnishing and waiting and redoing the varnish etc.

After that, it basically became a matter of finishing up the details. I do want to speak to the windows as this was something completely new to me. I wanted to give it a reflective look but knew a metallic paint would not work. I found a solution by starting with P3 - Menoth White Highlight, and then glazing with Army Painter - Blue ink. I am really happy with the result. I think it gives it a good depth of color and a bit of a reflective look without overpowering the metal details in the windows. The windows metals and the door hinges were done with P3 - Pig Iron.

And here is the final product. I am really happy with this one. Please leave a comment and let me know what you think.


Monday, February 1, 2016

Our very first video tutorial!

Today is a good day! We shot our first YouTube tutorial. We wanted to start out with something easy and fun, so naturally we went with crushed glass for snow effects. You have seen me use this stuff on several models, and I have been asked repeatedly how to use it.

So please take a moment to watch the video and please leave some feedback so that we can get better!

Enjoy.

Monday, August 24, 2015

Display Base for the Kodiak.

Alright folks, I have decided to enter the Khador Kodiak into the painting competition at Warmachine Weekend. In looking at past entries from this and other competitions it's clear to me that I need a display base. As I have never actually made a display base I did what we all do in times of need and headed to The Google. I found a few fantastic articles on Massive Voodoo and other sites and a few painters have offered me some great advice.
So with a bit of research in hand and a whole lot of "hold me beer while I try something" I decided it was time to get it done.

I started with the plinth. I picked up a good size piece of wood at Hobby Lobby for about $4, after which my wife suggested that I probably would have been able to get the same piece from a hardware store for free..... I then sanded it down and rounded off the edges. While at the Hobby Lobby I grabbed a package of air dry sculpting clay for the ground on the base. I am using clay for a few reasons. First it allows me to create slopes and uneven terrain, Second it gives me something to ancore the "trees" and "rocks". Last but by no means least its a heck of a lot cheaper than using Green Stuff.

For the trees and rocks I sent my kids outside to look for sticks and bark. In 28mm scale twigs look a lot like a tree. I've let them dry in the basement for a few weeks to get any moister out.

On to assembly. I started with getting my fingers a bit wet to work with the clay. Once it was in place and I was happy with the slopes and stuff. I basically stuck the trees into place. Then added the bark that will simulate rocks. Now its time to let the clay dry for a few days and then it will be time for the paint, bushes, snow etc.


As a last thought. The more I look at the base, the more I am thinking of removing the front piece of bark and going with maybe some run off water from melting snow.

Saturday, May 9, 2015

A quick side stroll over to Terrain.

I have always loved looking at game tables full of fantastic terrain. Whether home made or store bought. It really does pull a table together and helps immerse us in our games. I get tired of seeing green felt cutouts count as "forest" etc.

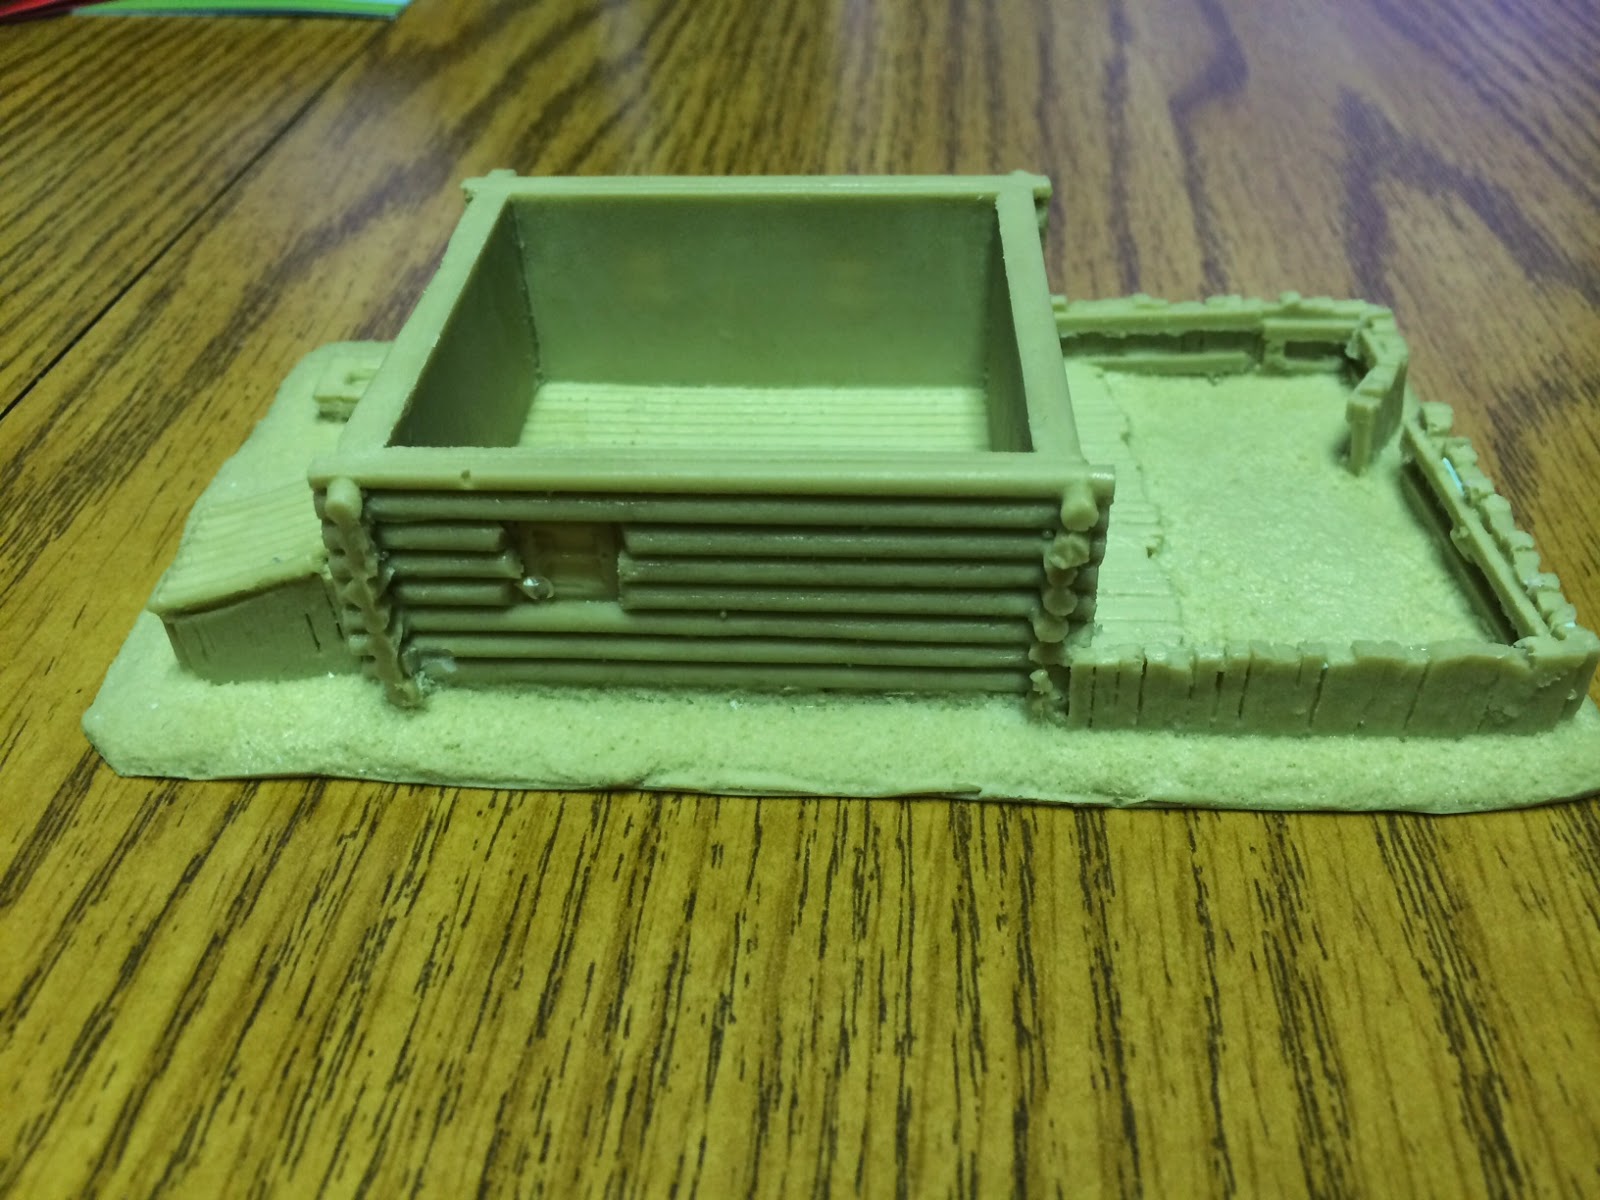
I had the chance to grab a peasant house that was made of resin from Novus Design Studios.


It came from Miniature Market and had a bit of credit in my PayPal so this wound up costing me about $3 out of pocket. My first mistake was not looking at the scale. I could have sworn it was for 28mm but its 15mm. Not a big deal as it will still be fun to paint and will look good in the display case.

Here is where things are starting to go off the rails.

Bubbles! I understand that resin can have bubbles. I get its a pain if you don't get it just right. But seriously? Bubbles on the sides. On the tops. In the middle of the gate?!? Please if you work for or know anyone at Novus, please ask them to review quality control. I don't mind bubbles on the underside of things, but come on man.


The other issue that I have is it appears that the resin was not fully cured. The resin is "slick", even after letting the piece take a nice long soak in warm soapy water and scrubbing with a brush.

We shall see how it reacts after drying when I try to prime it.

So overall its a really nice design and I can't wait to paint it up. I just hope that the little farm house is salvageable.

Oh and here are the rest of the pics.


Sunday, January 25, 2015

Diorama 5.0. If a tree gets Greens Stuffed in the forest.....


Ok bad joke opening aside. I finally had a few moments between work, school, and kids to get just about an hour of hobby time in today.

I wanted to get the Tree sculpted at least. I mixed up some GS and basically just wrapped up the twisted pairs of wire in as thin of a coat of GS as possible. Some places I made a bit thicker to try and simulate knots and stuff like that. This is my first time trying anything like this and I don't think it came out half bad.

Not to let it dry and then paint it up real quick and be done with this part.


Wednesday, January 21, 2015

Diorama 4.0 - Happy Little Tree

I really want a tree on this diorama I think the landscape is a bit too barren. I looked around at Hobby Lobby and on the internet to find something but all the pre-made stuff just looked "wrong" I want a tree that looks like its stood through hell. Off to the forums and the YouTube I went. I found a tutorial on trees made with twisting wires together and I knew that this was the way to go for me.

I grabbed some 1mm brass rod from Hobby Lobby. It comes in packs of 6, 12" rods for $2.39. so under $5 which is much much less then something from Woodland Scenic's.

The technique is incredibly simple.

Here is the supply list.

15 same length rods
Pliers
Nail Clippers (or what ever you use to cut brass rod).
A base of some sort (I used a 30mm round)
Wood Putty/ Green Stuff etc.


Start by cutting your rods to even lengths and make sure you have about 15. In pairs (2) grab one of both with the pliers and start twisting till you have something that looks like this.


Once you have your pairs done, take one pair and twist it together with another. Keep adding a pair till you get the desired girth of your tree. Keep in mind that you are going to add an outer layer that will make it even bigger when all is said and done. Also you will want to create the branches out of the ends of the pairs. I did this by not twisting the entire length of the pairs together starting with the third set. It should give you something like this.


I then made up some green stuff and secured the skeleton on the tree to the base. 


You can see here that I bent the tree in the middle to give it a bit of a gnarled look. 


Once the green stuff is dry I will take wood putty and finish it up.