Showing posts with label P3. Show all posts

Monday, December 11, 2017

Let's talk Terrain.

Over the last few years, some tabletop games have been moving over to using 2D terrain for wargaming. While I think it's a great for tournament organizers in so much that it's much cheaper, faster to setup and frankly less taxing on your painted models, I feel that it just looks and feels less immersive in the world that we create through our games. With this in mind, I set about trying to find great looking pieces of terrain that were also budget friendly.  If you have ever searched for resin terrain you will know just how expensive it can be, I stumbled upon Table Top World and I was just blown away. Their pricing is actually quite reasonable and the pieces are incredibly detailed (even the insides had details added!).

I chose the Inn as my first piece, mostly because I really like the look, and secondly because it was half off on Black Friday.

So here is what the resin looked liked naked. I found no mold lines and the only bubbles were tiny and on the bottom where no one will ever see them.


After a nice bath in warm water and Dawn dish soap to remove any leftover mold release, it was time to prime. I used Badger Stylrenze black primer on this (like everything else really), and let the primer cure for 24 hours. I then used Vallejo - Game Color Pure White to zenithal highlight before painting. I love this technique as it shows you right were your highlights and shadows need to be.


I started with the roof. I wanted to achieve an almost thatch feel to it, even though it's set up as wooden boards I figured the same type of coloration would really add to the overall look. For this, I started with Vallejo Model Color - German Camo - Medium Brown. for the exposed boards under the roof I used P3 Bloodstone. I carried the same color for the exposed wood on the sides of the house in these same colors. For the stone, I started with 3:1 Vallejo Model Color - Black Grey: to Vallejo Game Color - Stone Grey. I worked it up from there to a dry brush of 1:1 in the same colors.


After that t was time for the first wash. I used a basic wash of GW - Agrax Eathshade. On a model I'd generally use an oil wash, but this is a terrain piece and frankly, I didn't feel like varnishing and waiting and redoing the varnish etc.

After that, it basically became a matter of finishing up the details. I do want to speak to the windows as this was something completely new to me. I wanted to give it a reflective look but knew a metallic paint would not work. I found a solution by starting with P3 - Menoth White Highlight, and then glazing with Army Painter - Blue ink. I am really happy with the result. I think it gives it a good depth of color and a bit of a reflective look without overpowering the metal details in the windows. The windows metals and the door hinges were done with P3 - Pig Iron.

And here is the final product. I am really happy with this one. Please leave a comment and let me know what you think.


Sunday, October 1, 2017

Well Borka is finally done!

I had a rare few hours today to actually get some painting done. I know it was strange being able to sit down, clear my mind, clean my brushes and actually paint!.

I'd love to give you my normal breakdown on what paints I used/mixed to get the colors I did. I honestly didn't take the time to write them down. I will say that I broke out the Scale 75 paints to do the leathers. This is the first time I've used them, and I am happy to report that the do live up to the hype.


So with out further ado....... I give you Borka!


Saturday, August 5, 2017

Nemo 5.0

Well It was more work time on the Nemo bust. I continued to work on the skin, more and more glazing to get the shading and highlighting right. I'm happy with where the skin tone is now. I tried something different and funky with the eyes on this one. I went all "Storm" and tried to get a glow from the eyes, like there was some kind of magic happening. I'm not sure if I like it or not, so we shall see if it stays of if I blow it out and redo it normally.

Other than that, highlights were added to the golds, the purple and the silvers. a bit of wash was applied strategically on the armor. and well here are the pics.


Tuesday, August 1, 2017

Nemo 4.0

This one is slowly coming along. Tonight I was able to put a bit of time in on the face, hair, and metals.

The skin tones are coming along, I think I may have over did the highlights a bit, so I will have to go back and blend them in so that it becomes a smooth transition. Also looks like I need to add higher highlights on the hair based on the pictures it looks to be blending in. Aside from that I'm really happy with how the metals are turning out. The P3 pig iron on the screws looks really good with the rust. I still need to highlight up and blend into black in spots. The rust and metal mix looks better than I had imagined it would at this stage.

So yea lots more to do before school starts back up in a few weeks.


Saturday, June 17, 2017

A wild post appears!

Let me start off with a BIG apology. It's been about 5 months since my last post, and for that I am truly sorry. I can give you all kinds of excuses but hey I'm back and I have all summer to post pictures and paint models. So let the shenanigans begin.

To start, here is the Khador Conquest. I did this in my normal Inks first style. It was a bit more of a challenge as the larger the model the more light has to "hit" it. It took a few tries to get the shading and highlights to where I was happy with them. Other than that a large model like this is pretty much the same. Make sure your paint is thin and work in coats.


Then for run I did up an older metal Khador Destroyer for fun. I did this one in about 2 hours. Nothing special just wanted a quick project to work on in a color other than red. 


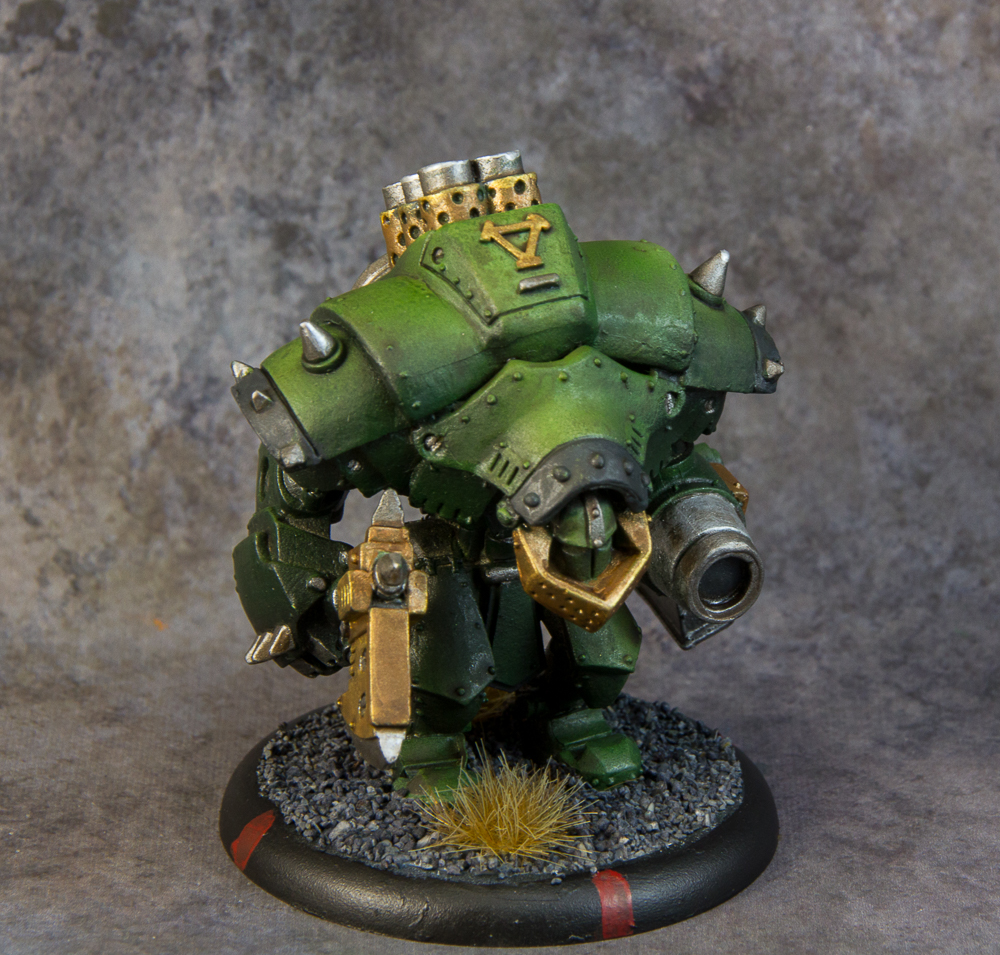
Up next was the Khador Grolar. I tried something different and went with a high contrast between the Red and bright Green. I like it. If you look carefully at the shield on the right arm you will notice some purple and blue inks in an attempt to make the gold look a bit more tarnished. 


Sunday, February 19, 2017

Some much needed Red.

Hey there folks. I got a bit of time tonight to work on the bust. I was able to start on the red metallic of the shoulder armor. I started by masking off the skin with Silly Putty. That might sound weird but it's a fantastic way to mask, it does not leave any residue and is really easy to get into cracks and crevasse. More importantly it is easy to remove with no issues.

I started with Vallejo Model Air - Steel which is a bit bright for what I normally use but for this I want it to stick out a bit more before bringing it down with glazes later. Once that was dry I used P3 - Red ink and did a nice fine layer leaving most of the metallic shine.


Then it was time for the gloss coat to seal in the freshness.

I had a bit more time so I spent the next 2 hours building this guy. It's the latest large model for Khador from Privateer Press and is also totally in hard plastic on sprue. Which was nice but a heck of a lot of pieces for one large model.


Wednesday, January 18, 2017

A new year and a finished Sigmarine.

Well school is still in full effect (as well as work, and family life), but I was able to carve a few hours out and actually get some painting done. My goal for the year is to get the Warhammer Quest box set painted as well as the Super Dungeon Explorer box and the Rivet Wars set (can you see a pattern emerging?).

So with that in mind I figured I could at least knock out the first model and get the snow ball rolling. Here is the Sigmarine. I really like the gold, blue and red color scheme. And I have decided that yellow will be on every model in the box as a tie in. So here ya go. I hope you enjoy it as much as I did when painting the model.


Sunday, September 18, 2016

Slow and steady wins the race!

With nursing school, my kids all in school, and my wife in school as well (let's not forget about working while we are at it!). It's been a rare gem to find time to paint.

That being said, clients must be a priority as well. I started working on a clients Privateer Press, Legion model called the Strider Death Stalker. First thing to know that this model is really cool. It has just enough detail to make it interesting, without going overboard and making it a burden to paint and look at. The simplicity of the model also means that doing it right comes down to highlights shading and color choices (but don't they all really?).

To start the models were cleaned and pins were set into place. The nice thing about these little gems of white metal is the fact that it's only two pieces. So the whole body and the bow arm. I decided to paint them separately, as the bow would get in the way of about 1/3 of the body for painting (and of course it's the detail part!). Pins also were put into the feet to attach to the base later.

Ah yes the bases..... I wanted to create something special for these. As they are on 30mm bases there isn't all that much room to tell a story. The client asked for ice theme and I love me some crushed glass. I started out with Secret Weapons Miniature - Swamp bases as they suit my purpose fantastically. They have tree stumps and most importantly a deep lip which makes poring resin a non-messy breeze.

So here are some WIP shots. Stay tuned for more next week.


Please note the resin is still drying on the base so it looks like white soup at this point. 


Sunday, September 11, 2016

Moar Conquest WIP.

Well I was a good boy and got a bunch of my reading done for class, so I decided to treat myself with a few hours of painting. As I am still waiting on my next commission project to get here I chose to keep working on the Conquest.

I started by working on the fire in the boilers. Of course this thing is so big that it has three! Then it was on to working on the blacks, and let me tell you...... there is a lot of black on this guy, not to mention the black needed for undercoating the metalics that are yet to come.

So have some WIP shots and keep painting!