Showing posts with label Red Ink.. Show all posts

Saturday, June 17, 2017

A wild post appears!

Let me start off with a BIG apology. It's been about 5 months since my last post, and for that I am truly sorry. I can give you all kinds of excuses but hey I'm back and I have all summer to post pictures and paint models. So let the shenanigans begin.

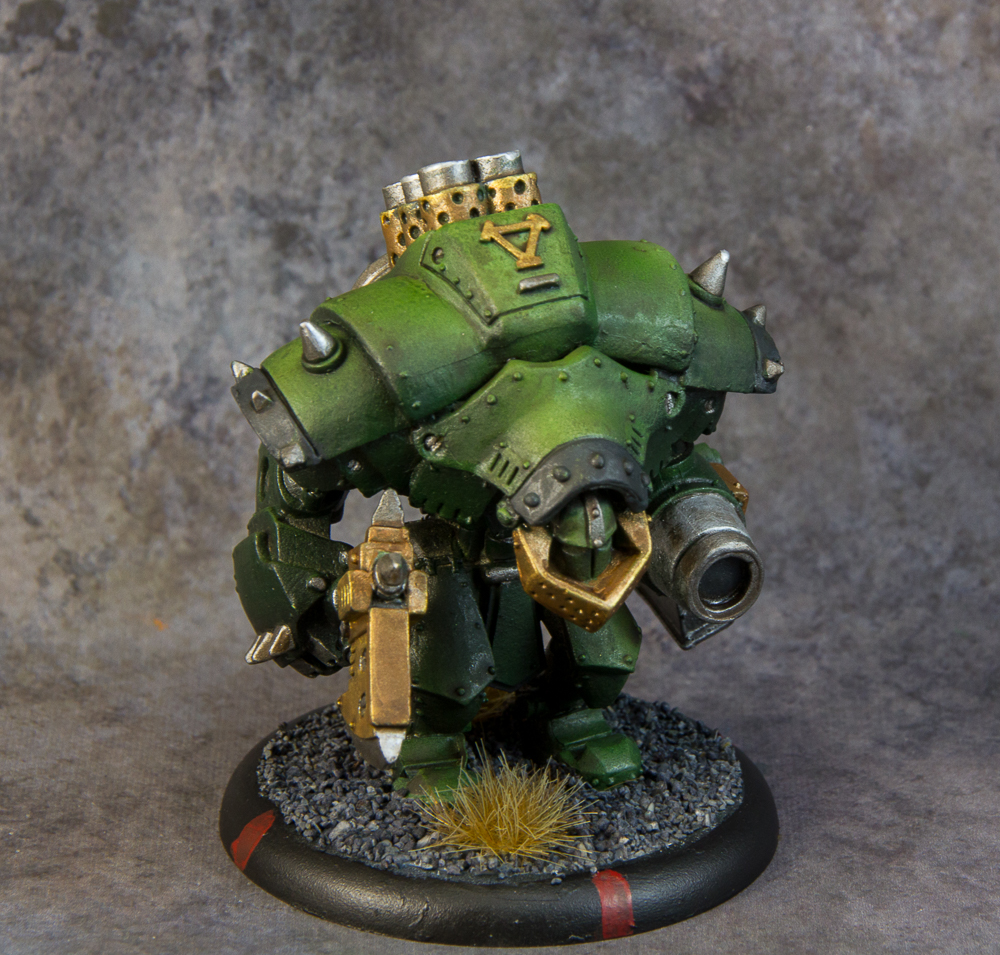
To start, here is the Khador Conquest. I did this in my normal Inks first style. It was a bit more of a challenge as the larger the model the more light has to "hit" it. It took a few tries to get the shading and highlights to where I was happy with them. Other than that a large model like this is pretty much the same. Make sure your paint is thin and work in coats.


Then for run I did up an older metal Khador Destroyer for fun. I did this one in about 2 hours. Nothing special just wanted a quick project to work on in a color other than red. 


Up next was the Khador Grolar. I tried something different and went with a high contrast between the Red and bright Green. I like it. If you look carefully at the shield on the right arm you will notice some purple and blue inks in an attempt to make the gold look a bit more tarnished. 


Sunday, February 5, 2017

Busting out!

Ok silly title aside.... I got a bit of work done on the orc bust today.

The first thing to do was set up where I wanted the highlights to be, for a model this size I really just used where the light fell on the model, which made it rather easy. I used Vallejo Game Color - Pure White for this one. I figured with the greens and yellows that were to be applied I did not want to go with a rosy skin town for the highlights.


Once that was dry it was time for the first ink layer. For this I used FW Artists inks - Green. Using the airbrush set at a low psi (about 8) I started just moving it around till I got the saturation I was looking for. The hard part is to get coverage without going too dark and covering up the highlights while making sure you get full coverage on the model. 


This is what it looked like after the first green was applied. You can see that there is a bit of highlight and some dark but it's not terribly differentiated. Again I used the Pure white to touch up the highlights 


Then it was time to apply the second layer of green. I wanted something a bit lighter than just a standard green so I mixed FW- Yellow with the FW-Green and thinned it to just about a water consistency. Which leaves us here. 


After that it was time to put on the first coat of Gloss Varnish and let it cure over night. 

Oh and I did a bit of work on the hair. Which if we are honest kinda looks like a red worm right now......


Tuesday, January 31, 2017

Day 2 of the bust.

So the build went well, and it was time to prime. And oh man did I prime. It took a full cup on my Patriot 105 to prime this guy. For this one I am using the Badger Stylrenz black primer. I switched over from Vallejo Surface Primer a few models back and it's like night and day. The difference is like when you go from a rattle can primer to an airbrush primer if that tells you anything about how good this stuff is.

The lessons learned on this day are a few. First and foremost the bust is too big for a normal holder. As it has that bit of round at the bottom I figured it would suffice. Well...... not so much. The bust is a bit heavy on top and it made maneuvering a bit wonky. You will also notice that I went ahead and attached the shoulder piece to the bust. I debated painting it as a separate piece but the way the angels come together it made more sense to go ahead and just put it together first. I did leave the hair off as it is going to be a nice bright red and I figure it will be much easier to just slide it into the slot later and not have to worry about over spray or under spray with taping.

The next step will be to go a head and add the under highlights. As this one is going to be a sickly green I am going to deviate a bit from my standard. I'll be using a series of whites and yellows for the undertones which should (in theory) set up a really nice nasty green when I shoot the green ink onto it.

So here it is. All black primed and curing over night.


Tuesday, March 22, 2016

Heldrake 2.0

Work continues on the Heldrake. I was able to spend a few hours starting on the gold, and let me tell you there is a metric ton of it going onto this model.....

I chose Vallejo Alcohol based - Old gold for this. I find that it works really well with the reds and the almost red tint of the gold picks up a reflection like quality.

So this is how far I was able to get. So much more to go.....