Knight Titan 8.0
It was time to ruin a perfectly good paint job. Let's get to chipping. The tools of choice for chipping are a used stiff bristle tooth brush, a coffee stir stick cut at an angle, fresh water, and few paper towels.
I start with the toothbrush, getting it mildly wet and rubbing it over the piece. This well get the paint wet and let the hairspray we used earlier in the build dissolve making it easier to to remove the paint. Then I use the stir stick to chip up little pieces and cut scores into the paint where the hair spray has not quite gotten the message. Then another run with the toothbrush and its time to dry the piece off with the paper towel.
Now it is time to let these fully dry and then I will hit them with two coats of testers gloss coat. Normally when I gloss coat I use Vallejo Gloss Coat through the airbrush but we are going to be putting a few oils down and when you need it tough there is nothing better than Testers (seriously its like shellac for models).
I'll be using a burnt sienna oil for the wash as it will compliment the orange/red I used for the rust colors underneath, and should look pretty darn amazing streaked down the white bits. I am also planning to use some red rust powders and a few other things to make this look really rusty and dirty.
I'll be back around Friday with new update. Till then y'all.
Monday, September 15, 2014
Saturday, September 13, 2014
Knight Titan 7.0
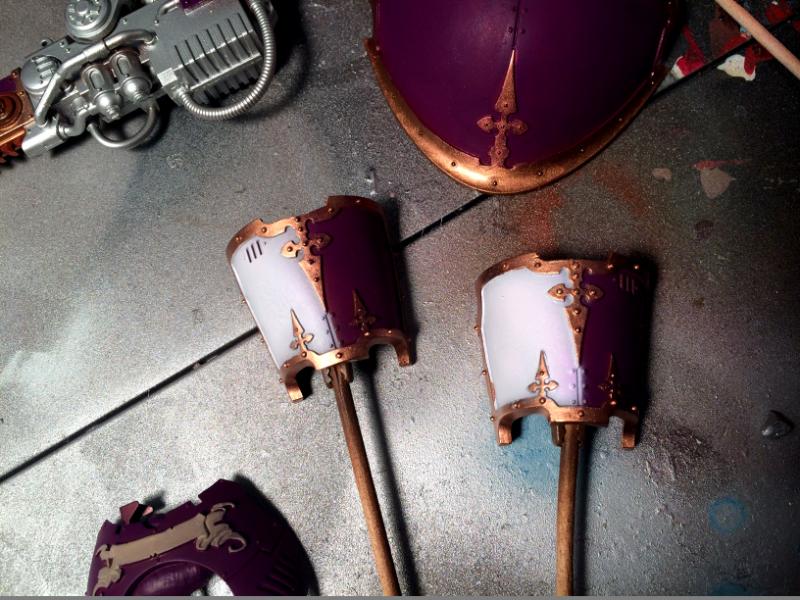
I gots the gold fever baby! Ok not really. I just wanted to work on the golds tonight. I was able to get the Leg Guards, Shin Guards, Knee Guards (this thing has a ton of guards apparently) and the Chain Sword golds done. I gotta say the purple and white really go well with the gold.
I also cleaned up the purples on the rest of the model and the silvers where they bled over. My back started hurting so I stopped for the night (Ain't getting old great?).
It's just about time to start chipping away at the paint job to bring the rust out. I think that will be the next installment.
See ya tomorrow. Same bat time, same bat channel.....
I gots the gold fever baby! Ok not really. I just wanted to work on the golds tonight. I was able to get the Leg Guards, Shin Guards, Knee Guards (this thing has a ton of guards apparently) and the Chain Sword golds done. I gotta say the purple and white really go well with the gold.
I also cleaned up the purples on the rest of the model and the silvers where they bled over. My back started hurting so I stopped for the night (Ain't getting old great?).
I really love how this picture turned out. You can really see how amazing the Vallejo Red Gold is.
Group shot, pay no attention to the top left corner.
See ya tomorrow. Same bat time, same bat channel.....
Friday, September 12, 2014
Knight Titan 6.0
I didn't get much sleep in the last 48 hours but I wanted to get some painting done.
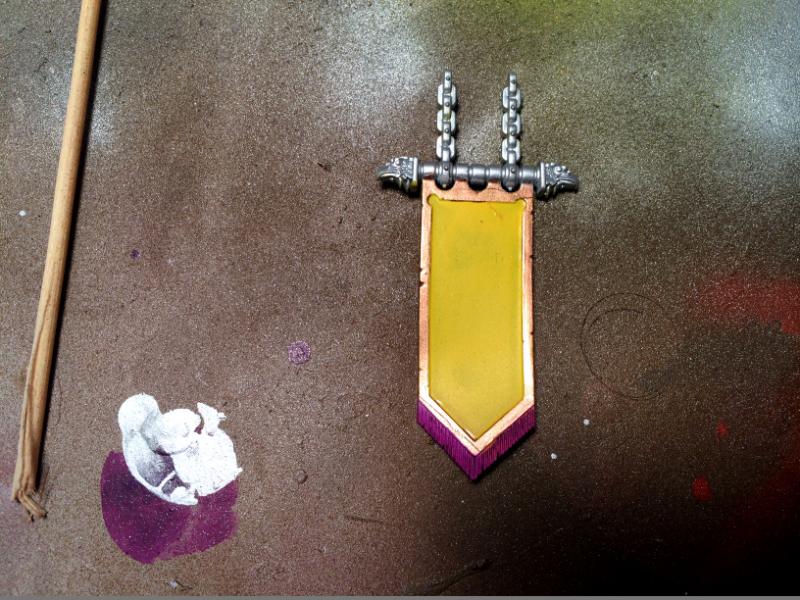
I started by getting some yellow down on the banner. I used P3 Cygnus Yellow. It was the brightest that I have I a want the banner to really pop against the black when its done.
I didn't get much sleep in the last 48 hours but I wanted to get some painting done.
I started by getting some yellow down on the banner. I used P3 Cygnus Yellow. It was the brightest that I have I a want the banner to really pop against the black when its done.
Then it was time to play with some gold! I love Vallejo Red Gold. It's from the Vallejo alcohol based Liquid Gold line and its just fantastic. I really like how you can see the reflections of the colors around it in the gold (well in person you can). Also note that it is an alcohol based paint so you thin it with 90% isopropyl and use a synthetic brush as the alcohol is no bueno for sable hair.
As you can see I was pretty tired and I let a bit of the gold and some of the silver bleed over, but that will be fixed easily tomorrow when I get back to work on this bad boy.
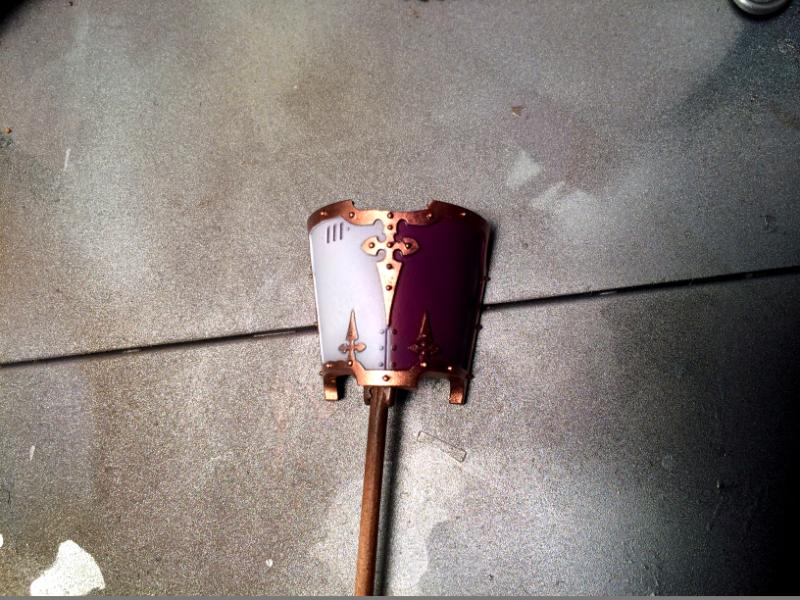
The last thing I did tonight was get the whites down on the Leg Guards. I used P3 Menoth White Base and I really like the look with the purple.
Well, that's all for now folks, see ya tomorrow.
Wednesday, September 10, 2014
Knight Titan 5.0
Just a quick update tonight. I was supposed to work a 24hr shift and it turned into working 36 plus hours instead.
I was able to tape off and get the Steel down on the torso and legs. I am currently using Vallejo Model Air Aluminium and it's by far my favorite of all the silvers that I own. It leaves an incredibly smooth finish and just looks like real metal. I also really like how the sliver and purple look together.
Just a quick update tonight. I was supposed to work a 24hr shift and it turned into working 36 plus hours instead.
I was able to tape off and get the Steel down on the torso and legs. I am currently using Vallejo Model Air Aluminium and it's by far my favorite of all the silvers that I own. It leaves an incredibly smooth finish and just looks like real metal. I also really like how the sliver and purple look together.
I have another 24 hour shift tomorrow so I should have a much bigger update with quite a bit of progress on Saturday.
Up next I am going to tape off all the fiddly bits on the arms to finish up the silvers. Mask off the "face" and get a good glow coming out of the eyes. Then the mask (that covers most of the face) will get a really bright yellow or an off white (haven't decided yet). For the banner I am leaning towards yellow and black caution stripes. That should finish up the airbrushing side of this project then onto the regular brush.
Monday, September 8, 2014
Knight Titan 4.0
Oh yea. I'm back from a 24 hour shift and I got to rock and role on the Knight Titan a bit.
The gloss varnish was dry and ready to go. I sprayed everything down with hair spray (Please let me say this again, you have to use cheap hair spray. The good stuff just doesn't work. Go down to the dollar store and get a huge can of Aqua Net, it will last you forever and does not smell half bad!). The hair spray needs time to dry, like a few hours time. It will dry a bit sticky and that is just fine.
As an aside I have seen tutorials where people spray the hairspray from the aerosol can into a medicine cup and then put it into the airbrush to aerosol it onto the model. I'm not sure why they do this as its kinda the same thing and looks like a few extra steps including breaking down your airbrush for a deep cleaning.
Ok let's get back on track. I taped off things that needed taping off with Tamiya painters tape. It's low tack and the best stuff for models around. I generally use the 0.25in but it comes in bigger sizes as well.
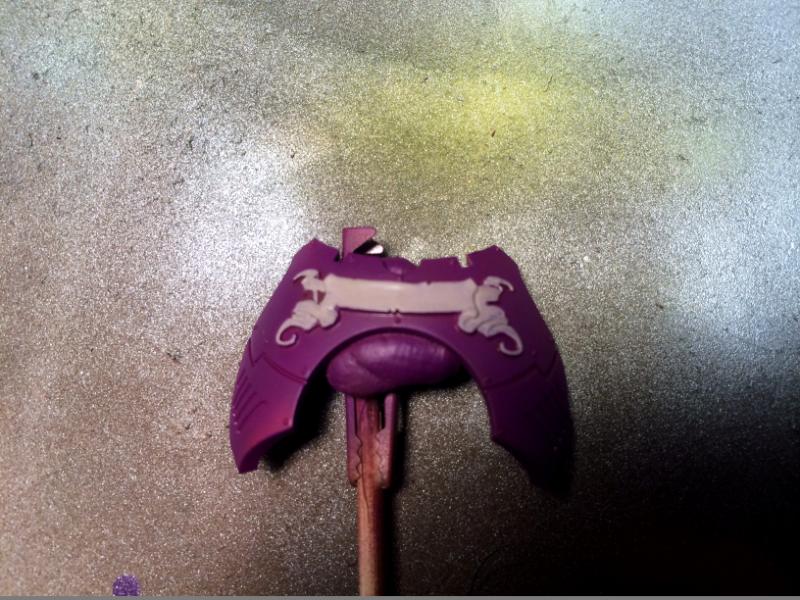
Then it was time to put the first coat down. I went with Lytch Purple from the old GW line. It's a really nice regal purple and its the only one I had on hand. One lesson learned is that purple is really bad at covering orange and needed a few more coats than I had anticipated.
You might also note that I only sprayed half the leg guards with purple the other half will be another color but you will have to wait and see what that one will be.
So what's next you ask? Well I am going to let this all dry over night and spend some time with the wife before my next 24 hour shift tomorrow. After that I will start working on blending in some dark red on the purples and see if we can get a good smooth blend/transition so that we get a good deep red on the higher pieces. From there I will get to the silvers. and the other colors.
Stay tuned. More to come this week.
Oh yea. I'm back from a 24 hour shift and I got to rock and role on the Knight Titan a bit.
The gloss varnish was dry and ready to go. I sprayed everything down with hair spray (Please let me say this again, you have to use cheap hair spray. The good stuff just doesn't work. Go down to the dollar store and get a huge can of Aqua Net, it will last you forever and does not smell half bad!). The hair spray needs time to dry, like a few hours time. It will dry a bit sticky and that is just fine.
As an aside I have seen tutorials where people spray the hairspray from the aerosol can into a medicine cup and then put it into the airbrush to aerosol it onto the model. I'm not sure why they do this as its kinda the same thing and looks like a few extra steps including breaking down your airbrush for a deep cleaning.
Ok let's get back on track. I taped off things that needed taping off with Tamiya painters tape. It's low tack and the best stuff for models around. I generally use the 0.25in but it comes in bigger sizes as well.
Then it was time to put the first coat down. I went with Lytch Purple from the old GW line. It's a really nice regal purple and its the only one I had on hand. One lesson learned is that purple is really bad at covering orange and needed a few more coats than I had anticipated.
Group Shot
The Back
Carapace and Chain Sword
Shield
Dem Leg Guards!
So what's next you ask? Well I am going to let this all dry over night and spend some time with the wife before my next 24 hour shift tomorrow. After that I will start working on blending in some dark red on the purples and see if we can get a good smooth blend/transition so that we get a good deep red on the higher pieces. From there I will get to the silvers. and the other colors.
Stay tuned. More to come this week.
Sunday, September 7, 2014
Let's Help Andrew from Schnauzer Face Mini's
This is Andrew from Schnauzer Face Mini's
His painting channel on YouTube is fantastic and personally I have learned a metric crap ton from him. If you can help him please do.
Saturday, September 6, 2014
Knight Titan 3.0
Yea I know it's quite a few updates to the blog for one day. In my defence its been a long time since I have had a whole day to actually build and paint something. That and I am really excited about painting this thing.
So I got the first brown of the rust down. I used Vallejo Model Color German Brown. It's a really nice dark mustard brown. Looks like what mud should.
I gave this coat about an hour to dry then it was on to the orange of the rust. I used the Old Fire Dragon Orange from GW mixed about 5:1 with VMC Mahogany Brown. I'm going with a very bright rust because the base colors will be purple and red. I need something that will stand out but still look like rust.
Now to wait a few hours and let everything get nice and dry. Then I will add a heavy gloss coat and call it good for the night.
Thanks for reading. More to come in a few days.
Yea I know it's quite a few updates to the blog for one day. In my defence its been a long time since I have had a whole day to actually build and paint something. That and I am really excited about painting this thing.
So I got the first brown of the rust down. I used Vallejo Model Color German Brown. It's a really nice dark mustard brown. Looks like what mud should.
I gave this coat about an hour to dry then it was on to the orange of the rust. I used the Old Fire Dragon Orange from GW mixed about 5:1 with VMC Mahogany Brown. I'm going with a very bright rust because the base colors will be purple and red. I need something that will stand out but still look like rust.
Thanks for reading. More to come in a few days.
Subscribe to:
Posts (Atom)