Saturday, September 6, 2014

Knight Titan 2.0

Well I spent the morning cutting things off sprue, cutting off mold lines and extra bits.... Oh how I have missed this GW. Than onto assembly. Because of how complex and how many "layers" if you will this model has I decided to paint it in pieces and then do a final assembly.

Also important to note...The legs fit perfectly BACKWARDS. So if you do not have a Dremel Tool and some Green Stuff life is gonna be hard. Lucky I did, and well, that was a fun waste of about 30 minutes.

I also cut up the shield a bit and drilled in a few bullet dents. These should be fun focal points for rust streaks.

I can't really see it in the picture but we are going with the Punisher looking face plate.


So now its sitting in the spray booth primed and curing. I am off to all the game stores to find some Vallejo Game Color Gory Red (wish me luck).


Knight Titan 1.0


Yep that's right folks step on down and see me actually work on a GW model. It's only been like 3 years since I have touched something made by the plastic crack company of Nottingham. I really like the look of this one and the shoulder pads/turtle like things look to be a pallet that just can't be resisted.

This is gonna be for a really good friend, in fact this is for the guy that got me into this whole crazy world of wargaming (no pressure right?).

It will be a Tzeentch Titan so its gonna be good and rusted and nasty and hopefully it will make you feel like you need a Tetanus shot when you look at it.

So here is the plan of attack.
1. Assemble but leave the arms seperate so he can magnetize and swap weapons.
2. Prime with grey
3. RUST layer
4. Gloss Coat
5. Hair Spray (Aqua Net baby! just like we are back in the 80s so grab yer mom jeans!
6. Base Coat and first blends (I'm thinking a deep red into purple)
7. Ruin a perfectly good paintjob
8. Oil Washes and Powders
9. Another Gloss coat (to seal in the freshness)
10. Satin or Matte Coat (depending on how it will look).

Looks like I have a fair bit of work ahead of me.

Now I know your asking.... But Rob whats with the Pink Horrors? Well those shall be part of the base but that's another update.

And the Rubber Ducky? Thats just my kids being funny!

Wednesday, September 3, 2014

Rhan 3.14159265359

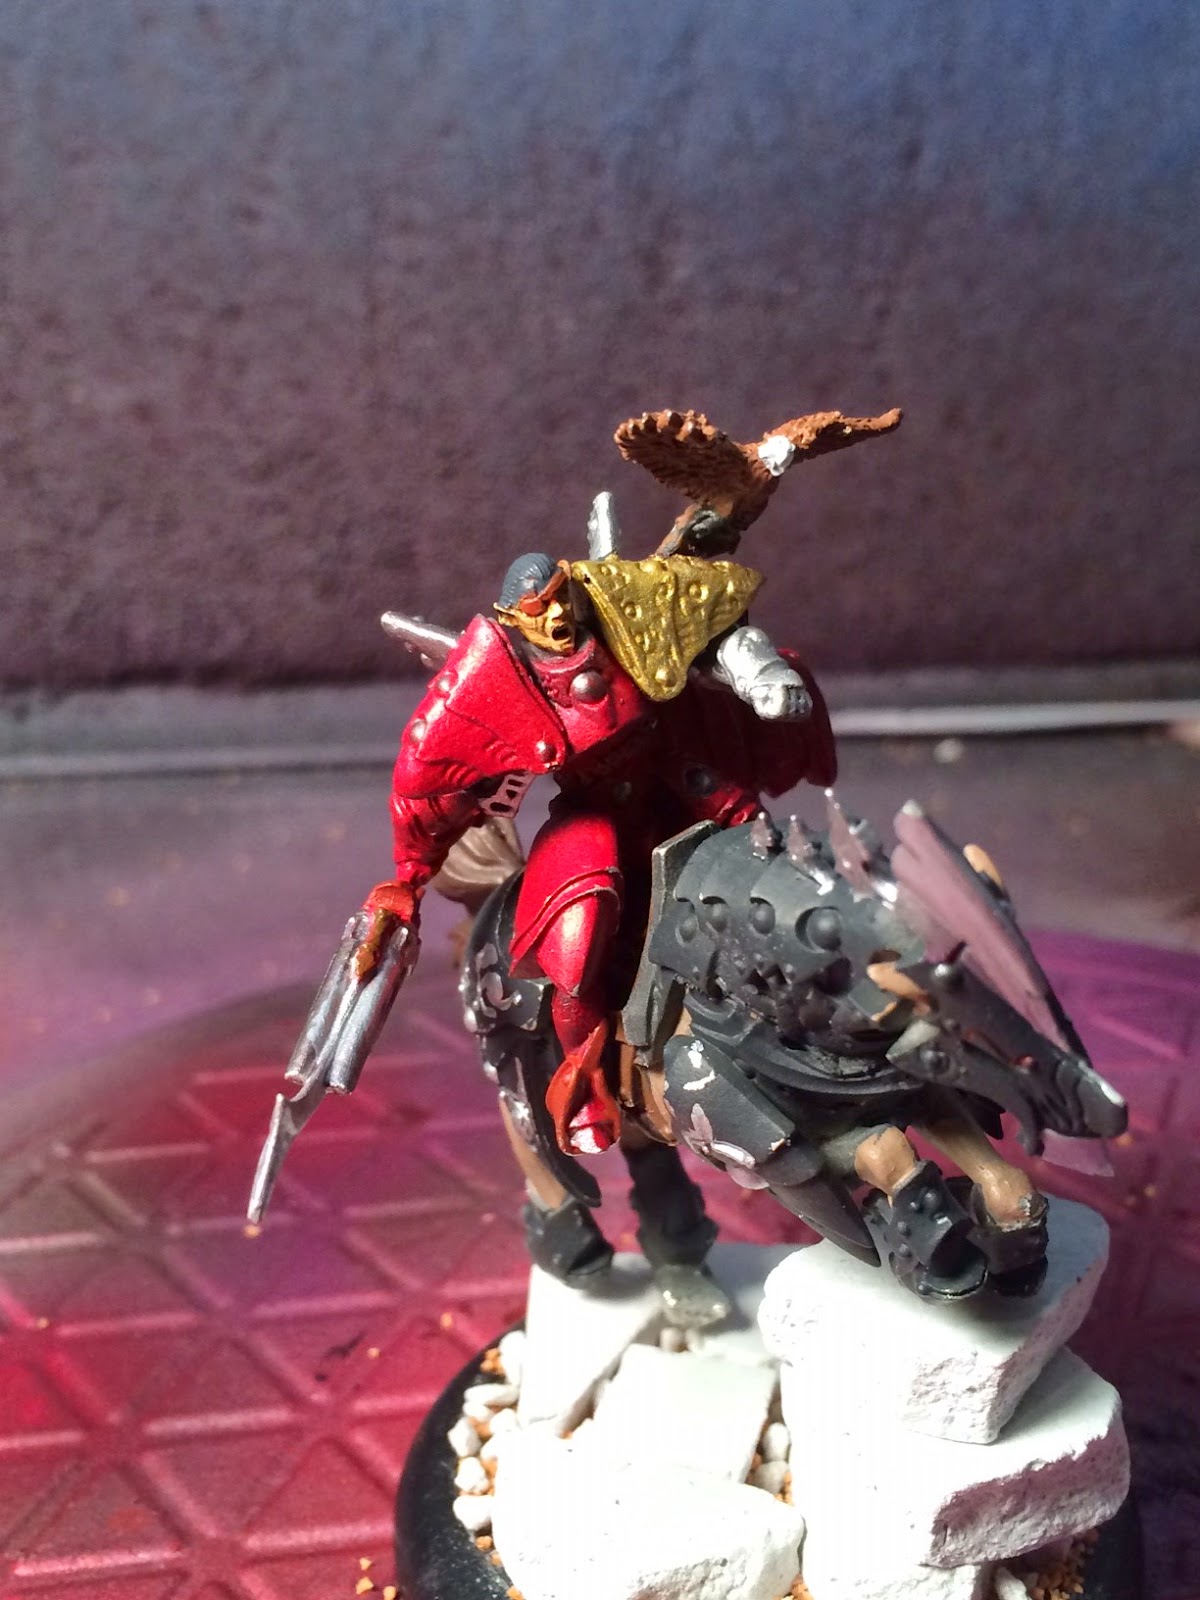
Well kids this one is just about in the books. I just gloss coated him so I can bring out the details and darken up the reds with an oil wash. Then all thats left will be a satin coat and we can call this one in the books.

I did not go with a typical Ret scheme because lets be honest the white is really bland. I had to balance the reds so it didn't come out too "Khador". I think I achieved that goal.

The things I am really proud of on this one are the dynamic basing and I really like the gold shoulder pad.


Saturday, August 30, 2014

Apologies 2.0 and Good News

Well kids I am finishing up a 36 hour shift and then home to get the clients models and finally deliver them to him tonight.

Now to the next project and something that I am excited to paint.

I will be working on a GW Imp Knight Titan. I don't play $40k but I have wanted to try my hand at this one for a while. A really good friend sent me it to have it painted and I a mean really how could I resist.

As of now the plan is going to Tzeentch it up. I am thinking purple/red with lots of dark browns and oranges for the rusted out nasty look. And hey I'll get to play with my orange oil paints for rust effects.

The base I am thinking about will be a Chaos Star kinda alter dripping blood from the points with Pink Horrors being "summoned" around it (so a few fully on the base. maybe a pair of arms or two coming out of the ground) and one or two getting squished under the Titans feet.

Stay tuned we are about to come in hot.


Thursday, August 28, 2014

Apologies are due.

 I have not put up anything on this blog in a very long while. I have been working 2 full time jobs trying to keep my family indoors and fed.

That does not excuse the fact that I have been working on a commision for about 3 months too long and I need to get it to the client. My goal is to deliver his models in the next few days with no other charge.

Because of time constraints I will not be taking any other commissions. I can't give clients the time they deserve and are paying for so its better just not to do it.

On a bright note. I get to work on stuff that I am passionate about at a speed that does not add stress to my life (do I paint or spend the few hours that I am home with the wife and kids?)

So stay tuned. I am not done yet! Just a bit slower.

Thanks for reading my apology.

Oh and give Jay Larson over at DiscountGamesinc.com some love. Jay's store and everything he does for the wargaming community deserve your money.

Friday, May 23, 2014

Retribution Battle Box 1.0

I first want to apologize for how long it has been since I updated last. I would like to give you at least 2 updates a week, but sometimes life just gets in the way.

OK now that they humbling is out of the way lets get down to why we are here. Painting and pictures (well that's why I am here anyway).

So I have been working on the PP Retribution Battle Box. It was given to me used and already "Primed" two were black which looked to me like GW Chaos Black and one was coated in some white stuff.. A soak in Simple Green and the two Chaos Black models were ready to go. The white though....... Oh the white one. Not sure what the stuff is but its just not budging. So everything was washed and dried and a nice light coat of Vallejo Grey Surface Primer was applied using the Badger Patriot 105. The color scheme for the clients Ret is the same as Hyperion in the "black" Silver, Red.

Lets get to the pictures shall we? Here is the Big war jack. I don't know its name but its big broad and this is the one that was covered in the white stuff.

More to follow soon.


Sunday, May 11, 2014

Thrall Warrior.

I did this one fast and dirty, I was looking for something easy and quick to paint up after spending hours and hours on the Hyperion. I wanted something fun that I could do and make look good in under an hour.

The paints for this one were strait forward. Vallejo grey surface primer, then I covered it in VMA Aluminum (as most of the model was going to be the armor. Jack bone was the base for the skull, followed by a highlight of the old GW lines Bleached Bone (gonna miss this bottle when its finally all used up). Then washed with the old GW Devlin Mud (or magic in a pot as they used to call it). The Green on the cape is VMC Russian Green.

It's funny how much you miss on a model until you take pictures of it. I didn't notice the extra wash that stayed on the sword or the bit of paint that made it onto the rim of the base.

As to the base.... This is one of the skull bases I had been working on. It got a brown wash and them some Secret Weapons Miniatures Real Water to give it that wet nasty blood look.

On to the photos......