Wednesday, May 13, 2015

Thagrosh Painter of Everblight DONE!!!

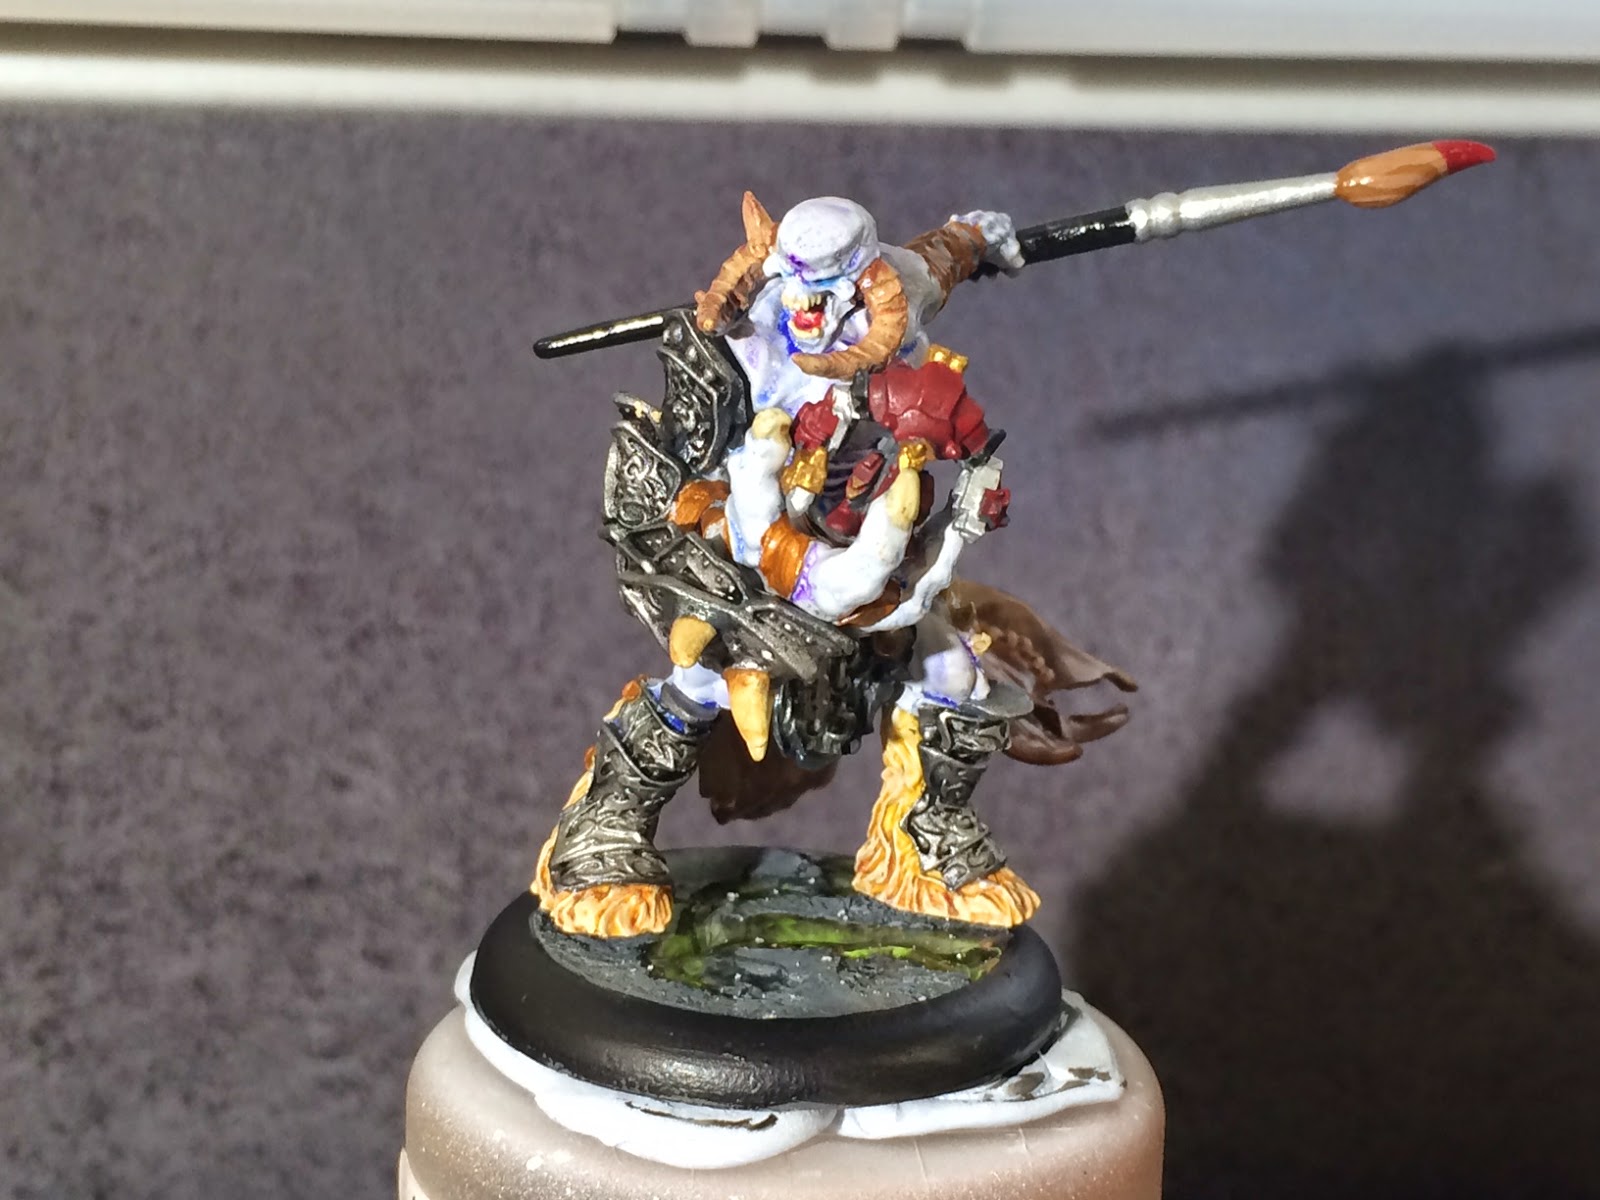
Wow, what an amazing model. This one was really fun to paint. I got to try a few new things like using two oil washes of different colors over each other (blue followed by purple) (also a third if we count the burnt umber on the cape) and I think I have the two brush blending down pretty well (see the cape).

I also took the pictures using the new camera. The pictures look fantastic on my computer so hopefully that translates to the blog.

All in all an fantastic model that I will actually be kinda sad to give to it's owner and not put in my display case.

Please, please, please leave some feed back, on the pictures and the model.


Tuesday, May 12, 2015

Thagrosh the Painter 4.0

The end is in site!  I was able to spend about 8 hours working on this guy today. So here is a shout out to my amazing wife who made that possible.

I blocked in all the armor with Vallejo Model Color - Grey Black, then added a heavy dry-brush of P3 Pig Iron to give it a nice dark metal look. It really brings out the legs and arm. After that I added some P3 Armor Wash which gives it a slightly blueish tinge which really looks fantastic.

I used P3 Blood Tracker Brown on the leather. If you don't own this color go buy some, Its such an amazing base for leathers.

Then it was time to assemble the model. All of the place holder pins where removed and I carefully glued the pins into the holes I had drilled.

After all of that it was time to gloss coat, once dry I used Windsor & Newton Colbalt Blue Hue for the first wash on the skin bringing it from a stone grey to a really nice blue/grey. Once dried I used Windsor & Newton Purple to add a bit of contrast and depth to the blue.

Now the model is sitting in the airbrush booth with the final gloss coat curing. Once dry and done. i'll clean up a few spots. Add the golds and seal it with a matte coat and this bad boy will be done.

Have some pictures..... they're free.


Sunday, May 10, 2015

Thagrosh the Painter 3.0

Well here is a quick update on this model.

I was able to get blending done on the cape. The more I play with two brush blending the more I love it. I'll write up a blog post on how to do it sometime soon in the future. I just need to figure out how to effectively write it up, and lets be honest there are tons of YouTube videos out there on it. So look it up if you really want to see it done.

After the cape, I cleaned up the over spray on the torso and worked the darker browns onto he spiky-bone things and the horns on his head. I also added the first blue to the eyes.

Then all that went into the spray booth for a gloss coat.


I added the second layer of still water to the base as well. 


Next up it was time to work on the super tiny Mini-Juggernaut that will sit in his hand. This thing just screams Micro-Machine from back in the day. I got the base colors on it and will work on shading soon. 

I also started work on the paintbrush. I'm thinking of making some water slide decals to give the brush a realistic look. 


Well that's it for now. This project is a lot of work but I think it will be fantastic when finished.