Don't leave your War Jack out in the snow.
I'm not the biggest fan of seeing a whole army full of weathered, chipped, and beaten up equipment. Real armies in the real world meticulously maintain their weapons (else they stop working). That being said, we paint and play with toys and whimsy so it's all good to have something all beaten down by time.
Taking that into account I wanted to do something completely different from what I have been working on (manly crisp, clean models that look almost showroom new).
I started out by priming the model in grey, then used a dark brown to base my rust, then added more brown reds and finally orange in certain spots to add variety of color like you would see in the real world.
Once done with that step a HEAVY gloss coat was added. This is needed to protect the rust layer so that it does not get stripped off in later steps.
After the gloss coat was fully cured (about 24 hours). I then coated the model with hair spray. Now a word of caution, do not use your wife's fancy expensive hair spray. First the stuff won't react with the water later, and it's almost guaranteed to start an argument.....Go out and grab a bottle of Aqua Net from the dollar store of your choice.
The hairspray only takes about an hour to set. We then proceed to paint the base color onto the model with an airbrush. this requires very light coats of paint at a lower psi as you want to avoid the water in the paint from activating the hair spray.
After all that works it's then time to ruin a perfectly good paint job. I start by taking a paint brush and loading it with water, then basically "paint the mini" with water in a small section, wait a few seconds for the water to activate the hairspray and then use a tooth brush to chip off the paint. When the desired effect is reached take a dry paper towel and dab the part of the model clean. Then move on to the next piece etc till done.
Once the chipping is finished it's time to protect what is already done. I find another heavy coat of gloss varnish to work really well here and it sets up the next step in the process. The wash.... Personally I like to use an oil was for this effect. not only does it flow into the recess better but you can achieve really nice rust streaks with it as well.
After a few hours of the oil drying I then use weathering powder to further diminish the fresh look of the paint. The not quite dry oil wash helps the pigments adhere to the model.
After that a good matte varnish and then you just finish off the details...
See clear as mud right?
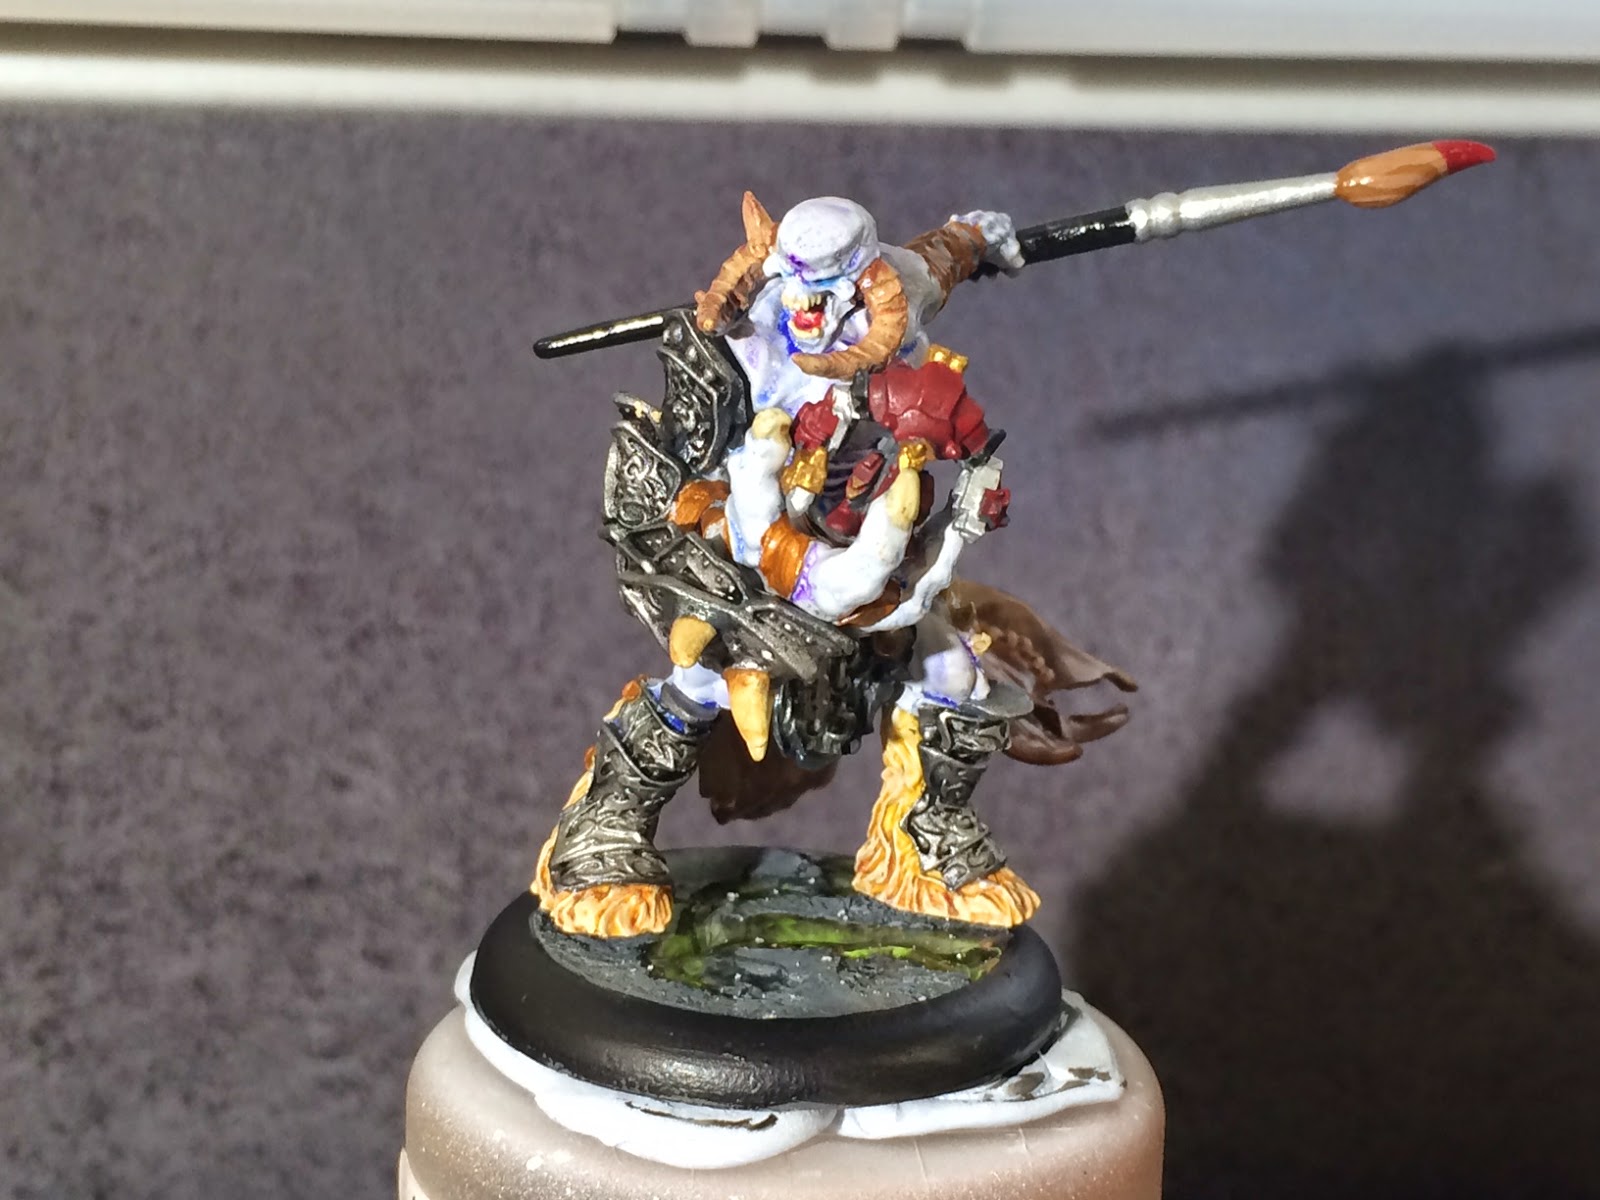
So here is the result of all that text.