Nemo 4.0
This one is slowly coming along. Tonight I was able to put a bit of time in on the face, hair, and metals.
The skin tones are coming along, I think I may have over did the highlights a bit, so I will have to go back and blend them in so that it becomes a smooth transition. Also looks like I need to add higher highlights on the hair based on the pictures it looks to be blending in. Aside from that I'm really happy with how the metals are turning out. The P3 pig iron on the screws looks really good with the rust. I still need to highlight up and blend into black in spots. The rust and metal mix looks better than I had imagined it would at this stage.
So yea lots more to do before school starts back up in a few weeks.
Showing posts with label painting. Show all posts
Tuesday, August 1, 2017
Tuesday, January 31, 2017
Day 2 of the bust.
So the build went well, and it was time to prime. And oh man did I prime. It took a full cup on my Patriot 105 to prime this guy. For this one I am using the Badger Stylrenz black primer. I switched over from Vallejo Surface Primer a few models back and it's like night and day. The difference is like when you go from a rattle can primer to an airbrush primer if that tells you anything about how good this stuff is.
The lessons learned on this day are a few. First and foremost the bust is too big for a normal holder. As it has that bit of round at the bottom I figured it would suffice. Well...... not so much. The bust is a bit heavy on top and it made maneuvering a bit wonky. You will also notice that I went ahead and attached the shoulder piece to the bust. I debated painting it as a separate piece but the way the angels come together it made more sense to go ahead and just put it together first. I did leave the hair off as it is going to be a nice bright red and I figure it will be much easier to just slide it into the slot later and not have to worry about over spray or under spray with taping.
The next step will be to go a head and add the under highlights. As this one is going to be a sickly green I am going to deviate a bit from my standard. I'll be using a series of whites and yellows for the undertones which should (in theory) set up a really nice nasty green when I shoot the green ink onto it.
So here it is. All black primed and curing over night.
Monday, October 31, 2016
Warmachine Weekend will be shortly upon us!
WMW is kinda my Christmas. It's the one convention I get to go to per year. It's small enough to not be completely overwhelming (under 1000 people) and big enough to have that con feel.
This year we have an amazing array of painters, modelers, airbrush artists and yours truly lined up to add a ton of value to the Hobby Lounge.
Not to mention the main gaming hall will be filled with games and at night the board games and booze will be a flowing. So if your in the St Louis area come on down and say high!
Oh and for those that want to know more. Here is the link to the con.
http://warmachineweekend.com/
Sunday, September 11, 2016
Moar Conquest WIP.
Well I was a good boy and got a bunch of my reading done for class, so I decided to treat myself with a few hours of painting. As I am still waiting on my next commission project to get here I chose to keep working on the Conquest.
I started by working on the fire in the boilers. Of course this thing is so big that it has three! Then it was on to working on the blacks, and let me tell you...... there is a lot of black on this guy, not to mention the black needed for undercoating the metalics that are yet to come.
So have some WIP shots and keep painting!
Sunday, August 28, 2016
Lady Aiyana from Privateer Press.
I had some time while waiting on the oil washes for the Blind Walker I am currently doing for a commission. I decided to be productive. In keeping with my "under three hour per model rule (for my own mini's at least)". I wanted to work on something I had set aside and had not really wanted to paint. This young lady stood on the shelf mocking me in silence. As that would just not do, she was plucked down and the painting began. I have seen some super detailed amazing work on this model in the past, and she is truly deserving of the time and attention that it takes if she is going to be used as a competition piece. She has all the elements that go into producing something quite amazing. I however will be using her in table top army, and she will be seeing a lot of time in battle foam. With that in mind I set out do make something.....nice.
I decided on a very non-traditional paint scheme. I went with Vallejo Game Color - Gory Red for the cape to tie in with the red of my Khador army. The complementary color for red is of course green but I did not want to go all "Christmas" on it. I used a Reaper master series green (which name escapes me right now). And the rest just fell into place. As you can see from the pictures I over exaggerated the highlights a bit. This is to make her stand out on the table top (think three foot rule). Which looks fantastic on the table but not so much in close up pictures.
So here ya go. I nice clean table top quality model that would up taking about two hours in total. Sadly the oil wash was still drying by the time this was done.
Friday, August 12, 2016
I was on a podcast!
I want to give a huge shout out to the good folks over at Skirmish Supremacy. They had me on as a guest and we discussed aspects of commission painting, painting in general, how to stay motivated and how to improve your painting.
Give it a listen and let us know how it went.
http://www.podcasts.com/skirmish-supremacy-390d39dc6/episode/Skirmish-Supremacy-Episode-28-Flight-Medic-Painting-with-Robert-Darefsky-3b75
Tuesday, July 12, 2016
A new day, a blog, and a new project.
I decided to mix it up a bit and work on something green.
I chose the Khador Kodiak as it's a fun new sculpt and I wanted to do something different. You might remember the Kodiak I did for competition about a year ago.
The one that is being worked on now is going to be completely different. So here are some very early WIP Shots.
Sunday, May 22, 2016
Beast 09!
I was able to get this one finished last night while hosting a painting hangout on Google.
Painting hangouts are a great way to meetup with other painters, bounce ideas, joke around and generally have a great time while painting. The best part is that you get to be in your own house in your painting area with all your stuff, It's really the best of all worlds, when compared to painting at your local store (IMHO, but then it is my blog so.....).
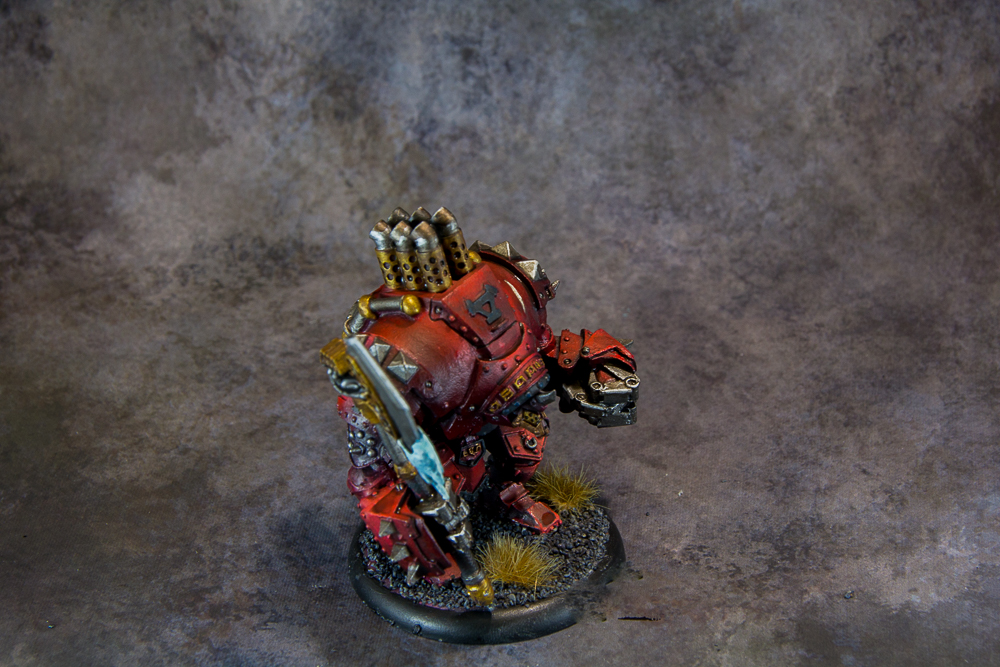
Anyway... back to what the topic of the post actually is, This is the Privateer Press - Khador, Beast 09 character Warjack. It's got great fluff and fun game rules. The sculpt for the model is really old and you can really see it in the joins, lines and detail. It's still a fun model to paint and went really fast.
Tuesday, April 26, 2016
Helldrake you say?
So the Helldrake is coming along quite nicely, now that the base is finally looking like I want it to. The first layers of weathering have been added and are drying. Soon it will be time to add a bit of pigments and call this one done.
I'm also really happy that I finally found a use for the monoliths I got from Secret Weapons Miniatures about 5 years ago......
So here are a bunch of pictures to make up for not posting about this model in a while.
Saturday, April 2, 2016
Wooden Plank Base Tutorial.
I am working on a model for competition and want it to really stand out. One of the best (or if done poorly worst) ways to highlight your models is to put it on a truly inspiring base.
As this is a bigger model and the base size is 120mm (think the size of a DVD) it gives plenty of room for creativity.
I have always wanted to try a wooden plank road and this was the perfect opportunity.
First I gathered up the supplies.
1. 120mm Round Base (came with the model)
2. Wooden stir sticks - I went with the smaller ones as they are more in scale. I picked them up at Hobby Lobby for $2.20.
3. Air dry clay - The reason for air dry is that you can't bake the plastic base (fumes are bad.....)
5. A sharp knife
6. Bits to fill in the space.
With the supplies in hand I started by figuring out how many sticks I would need.
With that sorted out it was time to cut them down to size. To do this I took the model and measured out a few milliliters out from either side to keep it in scale.
The next step is easy but time consuming. I marked and cut all the other sticks to size.
Then it was on to dry fitting to make sure (again) that I had enough of them.
As you can see not all are exactly the same length and that is on purpose. I want the "road" to have a realistic feel to it.
Up next was breaking out the clay. I picked this stuff up at Hobby Lobby using the 40% off coupon. The really nice thing about this clay is that its nice and moist and really easy to work with. The down side to air dry clay is that it takes about 24 hours to harden and cure.
Putting the clay on the base was rather simple. I made sure to leave it pretty lumpy to simulate muddy, bad terrain that would need a road of sorts.
The goal was to lay them out in a semi-organized fashion. Enough to make sure it looks like a road but not OCD to the point that it looks unrealistic.
As a last step I dipped into the bits box to add a bit of eye candy to mud. I used a gears, a shield from a model and the top of a club.
And now its time to let the whole thing dry and get ready for priming and painting.
Tuesday, February 23, 2016
Batch Painting - a few thoughts.
I was waiting for the next gloss coat to dry on the GW tanks yesterday but wanted to get some painting done. I had a few models laying around (who doesn't really?) that were primed and and patiently waiting their turn in line on the shelf. I decided to get them at least base coated. I knew that all of them were going to have strong reds and figured "why waste the paint?"
Batch painting, especially with an airbrush is pretty easy and can save a you a bunch of time. Make sure all of your models are prepped and ready to go. Keep them off to the side so that they are not picking up any over spray, and have at it. Simple really but what a time and effort saver. From base coat to under ehighlights to inks all four models took less than an hour.
So here are some pics....
Saturday, February 6, 2016
Our first painting class!
Today I held my first painting class at Game Links in Fowlerville MI. We had 9 students show up and it was a great time.
We started by talking about brushes, brush care, sable vs synthetic and how they are used. After that we talked about cleaning brushes and how important brush soap is to the longevity of your brushes.
Priming was next up on our list, followed by base coating, highlights and shading.
We worked on undercoating gold and why its important. Then moved on to silvers.
Next up we tackled skin tones and how to make them more realistic.
Then the big one.... 2 brush blending.
All in all a great day
Subscribe to:
Posts (Atom)