Showing posts with label Vallejo Game Air. Show all posts

Saturday, July 30, 2016

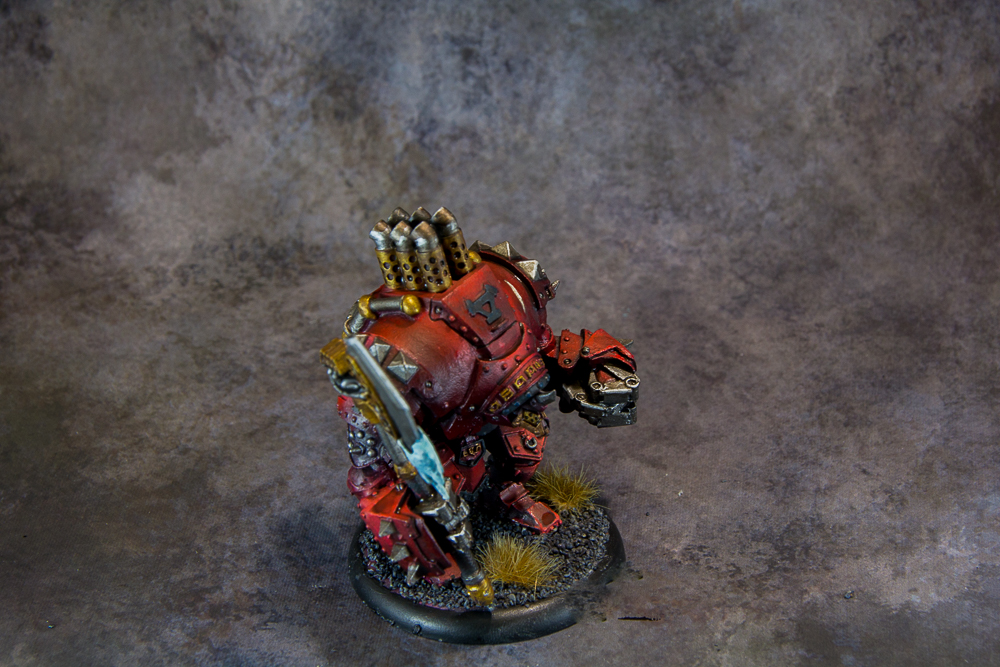
Just a quick War Jack to lighten the mood.

If you have been following along here, on Facebook and a few forums you will know that I have quite a few projects going on at the same time.

Because I don't have enough on my pallet I wanted to finish my new Khador Battle Box as well. So while other models were in different stages of drying, curing etc I painted up one of the Jacks in the Box (ah puns!).

Anyway..... I give you the Decimator (no I don't make up these names, other people get paid lots of money for this kind of magic...).

As a side note I really hate PVC plastic for models. The grooves and mold lines are a nightmare to clean up right.


Tuesday, June 7, 2016

Karchev Completed.

My God, what a fun model to paint. I loved every bit of working on this one.

So without further ado (and a wall of text).......

The Model!


Sunday, May 22, 2016

Beast 09!

I was able to get this one finished last night while hosting a painting hangout on Google.
Painting hangouts are a great way to meetup with other painters, bounce ideas, joke around and generally have a great time while painting. The best part is that you get to be in your own house in your painting area with all your stuff, It's really the best of all worlds, when compared to painting at your local store (IMHO, but then it is my blog so.....).

Anyway... back to what the topic of the post actually is, This is the Privateer Press - Khador, Beast 09 character Warjack. It's got great fluff and fun game rules. The sculpt for the model is really old and you can really see it in the joins, lines and detail. It's still a fun model to paint and went really fast.


Sunday, November 8, 2015

The Countdown to WMW Continues........

In my quest to get fully painted for Warmachine Weekend. I have been working on getting all the models needed to at least a table top standard. What is table top you ask? Well to me its all about the 3 foot rule. As models on the table are seen from about thee feet away its all about looking good from that perspective. This is wildly different from a competition or display piece. A table top standard model usually take about 1-2 hours per and largly consists of blocking in your main color, contrast color and accents. Followed by a heavy wash and a dry-brushing of the highlights. Display pieces and especial competition models can take hundreds of hours. And then you though on the basing and on and on.

So with that in mind, and seeing as I only have another 4 days to be done. It's time for some fast and dirty painting.

Here are 2 units of Khador Greylords. As they are the same models in two seperate units I wanted a way to not only speed paint them but be able to see which are which at a glance. I kept the color schemes the same (again for speed. Seeing a pattern here?) and use the base arc markings to differentiate the two. One unit has my standard red stripes the other I went with a neon green.

As an addition speed boost I worked on the Koldon Lord at the same time. As he is kinda-sorta a grey lord he shares quite a few of the same features/colors.

So here is what I have for table top on these two units and the solo. The pictures were just taken with my phone on the painting table as I didn't feel like they were worthy of the light box and the good camera, nor did I want to spend the time in editing photos for these.


In case you are wondering, this leaves me with about 20 models to go before I leave Thursday morning!. 

Happy painting everyone, You know I will be!


Saturday, June 20, 2015

Lessons Learned Part 2.

It has been quite a while since I posted about what I have learned about airbrushing and painting models in general. As I have not really had much time over the last few weeks to really work on models I feel that it is a good time for reflection.

1. PSI. When I first started airbrushing I think I was spraying at something like 30psi or above though my Patriot 105. It was impossible to do any kind of detail work and I was wasting a good deal of paint. I figured out pretty quickly that with properly thinned paint I had much more control and used so very much less paint. I now spray paint at 10-15psi and inks at around 5psi (inks are another lesson further down the page).

2. Thinning. I was one of the folks that fell for the VMA "you can spray it right out of the bottle" line. You can.... but for better results I have found that mixing VMA at 1:1 is about right. For others like GW, P3, VGC, VMC ect I mix at 3:1 (paint to thinner).

3. Nozzle size. At first I only had the Badger Patriot 105 with its 0.5mm nozzle. It is a true workhorse and I still use it for priming models, large models and terrain. For just about everything else I now use a Badger Khrome. I love the Khrome it has a 0.2mm nozzle and can do some astoundingly fine detail work. I really like being able to get a specific color into a tight area without too much over spray.

4. Trigger Control. Being able to control both the air pressure and the paint flow is a blessing now. When starting out it was more of a curse. Oh how many times did I mess up a perfectly good paint job by not having a good feel for my airbrushes and hitting it just a bit too hard. I would recommend practicing till you "just know" how hard or soft to pull back and push down on the trigger.

5. Inks. I have only recently discovered the amazing power of using inks though an airbrush. I love using its transparency to my advantage. I am a huge fan of being able to build up the highlights with ease and having it look so very seamless. I use both Dalor Rowney - FW and P3 inks. The Dalor Rowney tend to be a bit darker and are great for the first coats to give the model really dark shadows and the P3 are very bright and extremely useful for the last coats to smooth and blend the highlights.

6. Cleaning. Proper maintenance of equipment is not just for airbrushes. However we are talking airbrushes so I might as well stay on topic. I have found that a proper cleaning and lubing will prevent so very many headaches that it is worth the time after every session. For most applications a basic cleaning of taking out the needle, removing the nozzle housing and nozzle cleaning them and the cup of paint, then a thin coat of lube on the needle and screw in parts is all you need. When dealing with inks I have found it very important to break down the entire brush for a deep down cleaning (the stuff just gets everywhere).

7. I'm still a beginner. I feel like I have learned so much over the last year and a half, but have so very much more to learn. My goals over the next 6 months are to learn more traditional blending, and to work with smaller models. I still have no idea how some of the folks on YouTube can paint an entire model with just an airbrush, but hey, ya never know where I will be in a year or so.


Thursday, April 2, 2015

Let's enter a painting contest!

So dakkadakka.com is having a March Painting Contest. The theme is Veteran.

So naturally most people are going to go with something like a GW Space Marine. Or a Dreadnought. I want to do something out of the box and unexpected. And let's face it nobody expects the inquisition....er I mean a PP Mercenary Warjack...

I am going to be going a bit off the reservation with this one. Most of these (and the studio paint scheme) are dark brass/greens. Which are great but don't lend them selves too well to rusting chipping (not a huge leap in color difference).

I'm thinking a lighter Khaki will be the main color for him.

So here is the primed model. I'll be thinking of something for the base.


Too excited about this to want to go to work or college but alas I must.....


Monday, March 23, 2015

Long Time No Post......

I can't believe its been almost 3 weeks since I have put my thoughts and pictures on this here internetz. My time has been consumed with work, family, and school. No excuse but hey sometimes life gets in the way of art.....

I had the mis-fortune of getting hit with a pretty nasty virus over the last week and finally had the strength/will to sit down and get some paint on metal. I sat down to finish up the Kharchev diorama and found my hands shaking so bad it would have looked like that lady you see applying makeup going down the road at 70mph.... I turned my shakes into something better and assembled a few models. Then I primed with the airbrush and next thing I knew I was throwing down some inks on a Vlad model I had been wanting to play with for a good long while.

So here is what I was able to accomplish today.


Not too shabby for shaky hands and getting over being sick.


Friday, January 30, 2015

Diorama 7.75

To answer your first question, Yes my numbering system is completely arbitrary.

OK, that out of the way. I was actually able to sit down for a few hours and paint! Behemoth's matte varnish had dried over night and so the hair brushing could now begin.

I used Vallejo Game Color - Black, and yes you are correct I have repeatedly said to not use strait black on your models. Always go a shade lighter. You are correct, however the black in this case is needed and will be highlighted up to the point of not really even noticing it was strait black to start with.

Then it was on to the metallic colors. The silver is Vallejo Model Air Chrome. I wanted the silver to be really bright and shiny so when it is knocked down with a wash or two it still has a bit of a gleam to it.

The brass..... Oh the brass. I started out with Vallejo Game Air Brassy Brass and I am honestly disappointed in it. The coverage is still fantastic but it is way to brown. I mixed it with about 2:1 Vallejo Model Color - Brass and it gave me a good mid-tone brass. Then it was time for a quick wash. I used Vallejo Game Color - Sepia Wash as a first wash to bring down the silver and brass.

Now to let it dry. and then it will be time to work on details like highlighting the black, adding battle damage and washing it again.

So here have some pictures.


Monday, January 26, 2015

Diorama 6.0 - Behemoth!

I have watched Les over at Awesome Paint Job paint this model and I found his technique amazing. using inks to create a fantastic depth of color on the model. I decided that if I am going to do this thing I am going to do it right and use every trick I have learned to produce the absolute best models I can.

I started with Vallejo Grey Surface Primer and after curing I used Vallejo Model Color Dark Grey as my base color. I then used Vallejo Game Color Stone Grey for the highlights on the model.


Then it was time to play with the Ink. I only have P3 red ink at my disposal right now. I played with it through my Badger Krome given that it has a very small needle (0.2mm) and I can shoot it at a much lower psi. I found that 10psi was the "sweet spot". I used about a 1:1 mix of P3 Red Ink and Vallejo Airbrush Thinner. The depth of color after just one coat of red ink is already astounding. 


I've just coated it with a Tamiya Matte Varnish and once dry I will start the second layer of highlights using a soft skin tone. 

Stay tuned I have a feeling this will be the best model I have ever produced. 


Friday, January 16, 2015

GW Vindicator and Predator. 1.0

My friend sent me some models to redo for him. I got these bad boys in the mail today. Just a few broken off pieces here and there so nothing major needs to be done to fix em.

We are going to be doing a Khorn theme for these. The came already in the process of being painted. So right now they are in about a gallon of Simple Green. We discussed how they should look and the over arching desire is this, Evil! Expect to see some fun and new things as I go on this one. I hope it turns out like I see it in my head.

So here are the before shots..... You will notice the whites are a bit blotchy and the golds appear to be painted strait over black. One should never paint gold over black. Always go for a brown first. This will allow for better coverage and a more natural gold look. You can alter the light and darkness (richness if you will) of the gold by the brown you use. I tend to stick with Vallejo Beasty Brown for most golds but you can go as dark as Mahogany or as bright as a Khaki if you want.


See ya'll in a few days after these have been scrubbed clean and dried. 

Tuesday, November 25, 2014

The Good, the Bad, and the Move.

Well we are all moved into the new house. Most of the boxes are put away, and we managed not to forget any of the kids.

Sadly we have had a personal tragedy that has consumed our family for the past week and half. I have not had the time or really wanted to touch a paintbrush.

But that is passing and I feel the need to paint. That being said. I want to do something great. Something inspiring. Something that gets the creative juices flowing if you will.

I need ideas. Hit me. Let's see if we can get a few options.

Stay tuned, because I intend to start cranking out models real soon.

Sunday, November 16, 2014

Moving kinda sucks.

Ok the part where you pack all of your stuff into boxes, then carry all of the boxes out to a truck, drive the truck to a new place, and then unpack them sucks.

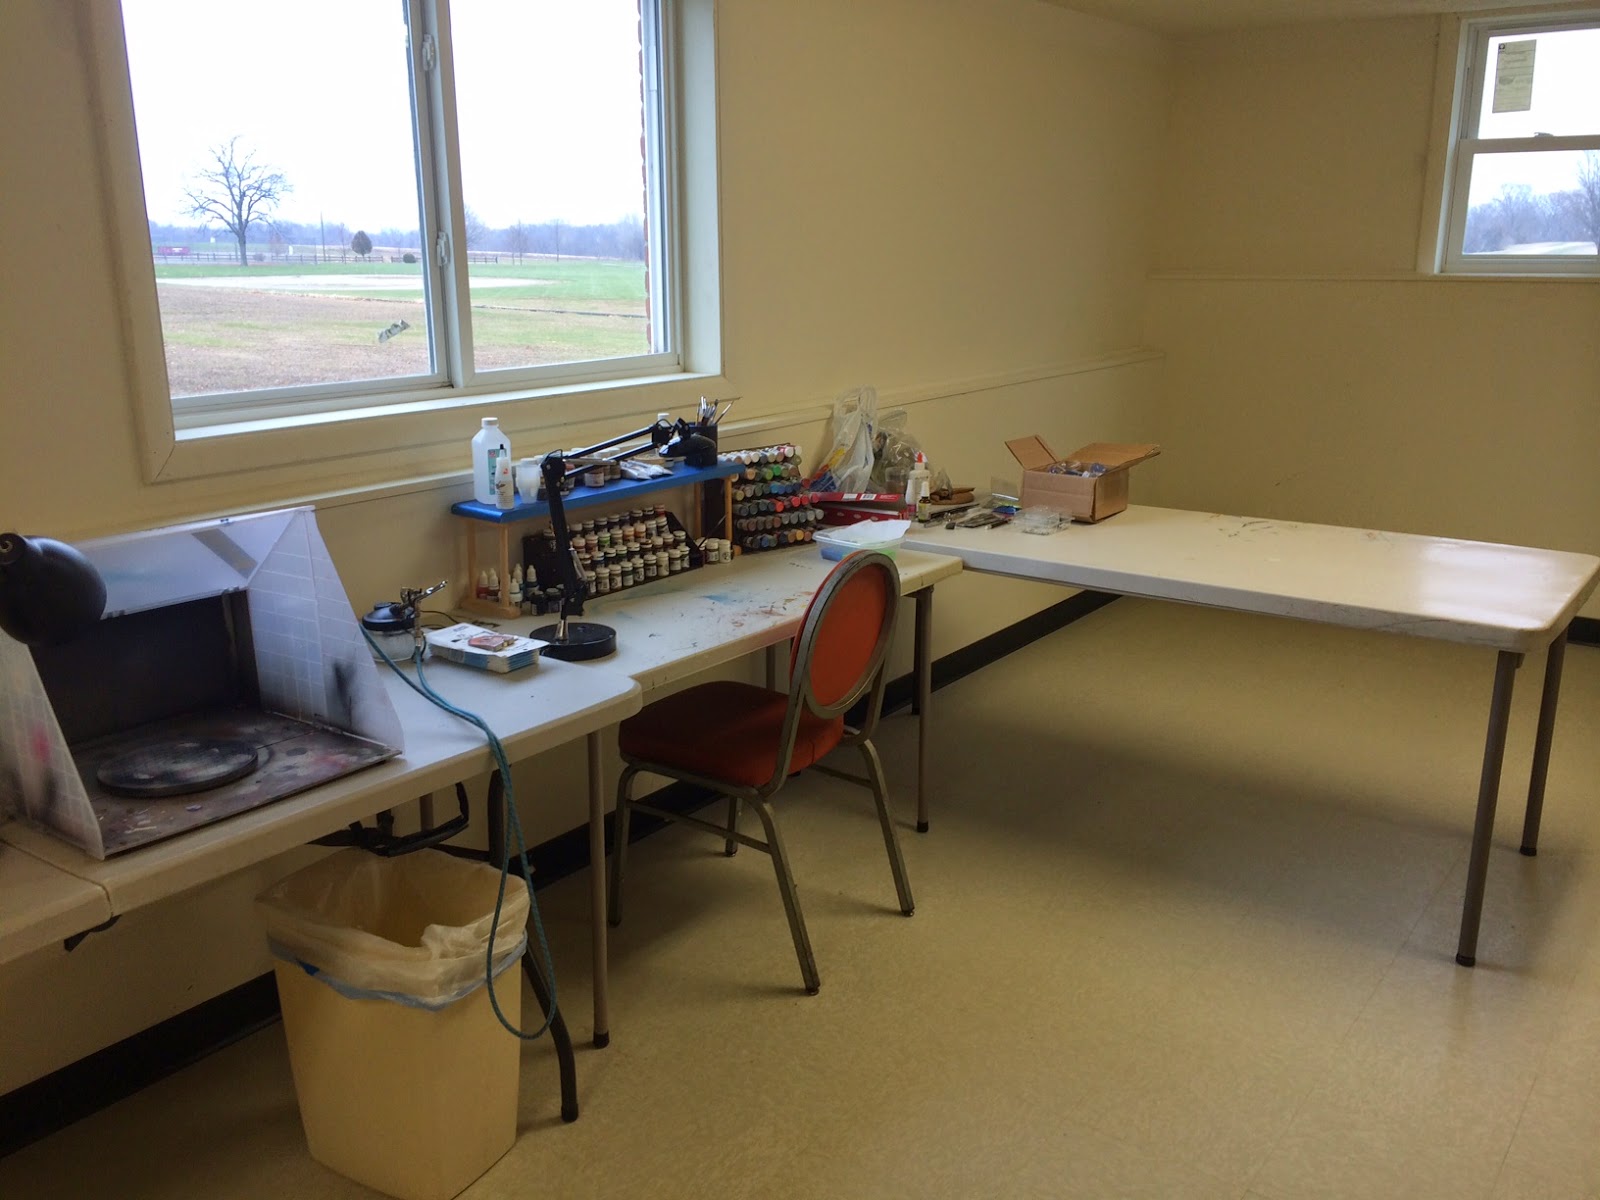
That being said. I'm glad to be in the new house. It's huge and beautiful and has nice big windows in the basement. I got the painting are set up and now I'm about ready to get some acrylic stuff onto some plastic stuff.

Check out the new digs.


Thursday, October 30, 2014

Rhupert Carvolo, Piper of Ord

I started working on this guy tonight. I felt the need to paint but still couldn't bring myself back to MacBain.

I like the piper he is a fun model, but I really do not like the studio scheme. It's really bland with too much Khaki for my tastes. I would imagine someone who was crazy enough to go into "battle" with a set of bagpipes would "spruce it up a bit"

All thats really left on this one is to wait for the wash to dry, put him on a base and seal him up.


This picture was taken under my Day light lamp I'm not sure why but everything I do in dark grey just shows as black in the pictures.