Commissions
I love painting models. It's something
pretty amazing, to take a bare piece of plastic or metal and to turn it
into something special.
So if you have seen my work and would like me to paint your models here is how to make it happen.
1. Send me an email at flightmedicpaints@gmail.com
Please include the following:
What model/models you would like painted.
Do you have the model or would you like me to obtain it on your behalf.
If you already have the model please let me know if it is assembled or NIB.
Please let me know if you would like to have custom/display basing.
2.
Some painting services offer "levels" of painting. Personally I have no
idea how I would pull that off as I paint models to the best of my
ability. More importantly, I believe that if you are willing to trade
your hard earned money for my service that you deserve my very best.
3.
Pricing - This would be based on what we discuss, as each customers
project is different it will depend on what the whole project entails.
Items like display basing, pinning and assembly vary quite a bit.
a. The price I quote you will be the price - no hidden costs, no "Sorry
this went over by 10 hours give me more....shenanigans".
b. All payments are through Paypal. This give you, the customer the most protections possible.
c. I require half of the agreed upon price up front (If I am supplying
the model the cost of what I would pay will be added to this, and I will
do my best to find the cheapest price, or let you know what I found so
you can purchase it yourself if its more comfortable that way).
d. Final payment is due before I ship the completed model.
4. What you can expect from me.
Communication - I will keep you updated on your project. It's up to you
on how you would like this done. You can follow the progress on the
blog, get updates via email, text etc. Just let me know your
preference.
My best effort - Like I stated earlier, your money is your vote of confidence, and I want to earn your business.
So there you have it. Please feel free to email me any questions you might have.
Thanks,
Robert aka FltMedic.

A somewhat humble blog about painting and photographing miniatures. I strive to entertain and maybe make your day a bit better!
Tuesday, May 10, 2016

Tuesday, April 26, 2016
Helldrake you say?
So the Helldrake is coming along quite nicely, now that the base is finally looking like I want it to. The first layers of weathering have been added and are drying. Soon it will be time to add a bit of pigments and call this one done.
I'm also really happy that I finally found a use for the monoliths I got from Secret Weapons Miniatures about 5 years ago......
So here are a bunch of pictures to make up for not posting about this model in a while.


Saturday, April 23, 2016
A Chibi?!?
Well yes, I decided I wanted to do something completely out of my comfort zone. With most 28mm models having connection with war and fighting the big differences tend to be skulls or steam punk. I wanted to try something that would really make me think. I figured what better way than to go all cute and cuddly.
The Chibi I chose is from the Super Dungeon Explorer line, its the Tabbybrook Mage - Promo model. It's a cat like mage I think?
Anyway I started by priming grey, I had a new purple that I wanted to try and used it as the base color on the cape. I chose a light green as the complement color and went with the blues to fill the triad.
All in all it was a lot of fun to do and a great way to spend a few hours not working on skulls, swords, gears etc...


Tuesday, April 19, 2016
A quick pallet cleanser.
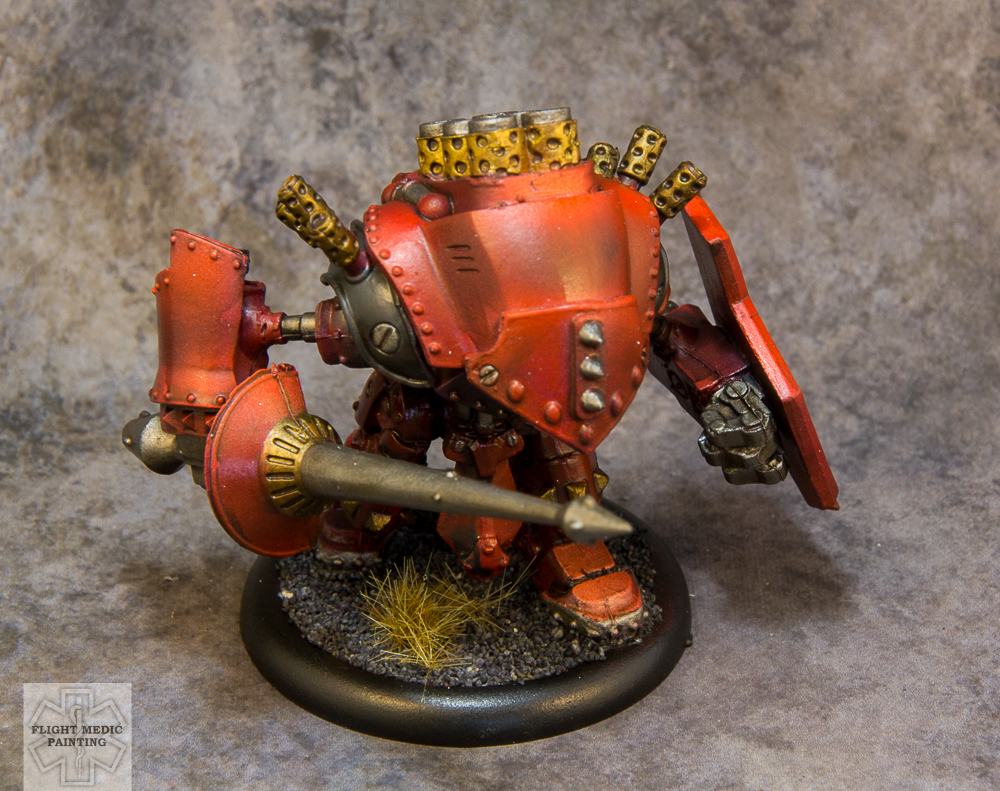
I have so many things that are about to happen in real life right now, that I am busting my butt to get the painting backlog out of the way. I sat down to paint and wanted something fast and fun to do. As i scanned the models I had primed and ready to go the Privateer Press - Khador Spriggen just jumped out at me (not literally, that would just be weird).
Now for those that don't know, Privateer Press uses PVC for most of there "plastic" models. The mold lines are terrible and can be in some really hard to reach places. Unfortunately when trying to clean mold lines off of PVC you need a really sharp knife and a really steady hand or you will gauge chunks out of the models. With this in mind, I through caution to the wind and said "To heck with it!" and just started painting.
I kept the paint job simple but I think it works.
On a side note this is the first time I used Vallejo Game Air - Bronze and I am quite underwhelmed. The shine is just not there and it has a bit of an almost green hue.
But hey, it's another model painted so it's all good.


Saturday, April 16, 2016
A wild update appears!!!
First I wanted to apologies for the almost 2 week gap between posts. I wanted to get this model (and a few others) finished so that I could show you a few completed models of the next few weeks.
I give you the Khador Gun Carriage by Privateer Press. I have wanted to paint this model for years and finally got the chance. I absolutely love this model. It's big, bulky has great lines that lend to shading and highlights. It just has the feel of being solid and tough. My only nitpick is that both horses have the exact same pose. Sadly they are two piece metal models (split down the middle) so no change of pose is really possible. Other than that it's just fantastic.
So here are the finished pictures.


Saturday, April 2, 2016
Wooden Plank Base Tutorial.


I am working on a model for competition and want it to really stand out. One of the best (or if done poorly worst) ways to highlight your models is to put it on a truly inspiring base.
As this is a bigger model and the base size is 120mm (think the size of a DVD) it gives plenty of room for creativity.
I have always wanted to try a wooden plank road and this was the perfect opportunity.
First I gathered up the supplies.
1. 120mm Round Base (came with the model)
2. Wooden stir sticks - I went with the smaller ones as they are more in scale. I picked them up at Hobby Lobby for $2.20.
3. Air dry clay - The reason for air dry is that you can't bake the plastic base (fumes are bad.....)
5. A sharp knife
6. Bits to fill in the space.
With the supplies in hand I started by figuring out how many sticks I would need.

With that sorted out it was time to cut them down to size. To do this I took the model and measured out a few milliliters out from either side to keep it in scale.

The next step is easy but time consuming. I marked and cut all the other sticks to size.

Then it was on to dry fitting to make sure (again) that I had enough of them.

As you can see not all are exactly the same length and that is on purpose. I want the "road" to have a realistic feel to it.
Up next was breaking out the clay. I picked this stuff up at Hobby Lobby using the 40% off coupon. The really nice thing about this clay is that its nice and moist and really easy to work with. The down side to air dry clay is that it takes about 24 hours to harden and cure.

Putting the clay on the base was rather simple. I made sure to leave it pretty lumpy to simulate muddy, bad terrain that would need a road of sorts.

With that step out of the way it was time to lay out the planks.


The goal was to lay them out in a semi-organized fashion. Enough to make sure it looks like a road but not OCD to the point that it looks unrealistic.
As a last step I dipped into the bits box to add a bit of eye candy to mud. I used a gears, a shield from a model and the top of a club.

And now its time to let the whole thing dry and get ready for priming and painting.
Tuesday, March 22, 2016
Heldrake 2.0
Work continues on the Heldrake. I was able to spend a few hours starting on the gold, and let me tell you there is a metric ton of it going onto this model.....
I chose Vallejo Alcohol based - Old gold for this. I find that it works really well with the reds and the almost red tint of the gold picks up a reflection like quality.
So this is how far I was able to get. So much more to go.....

Subscribe to:
Posts (Atom)