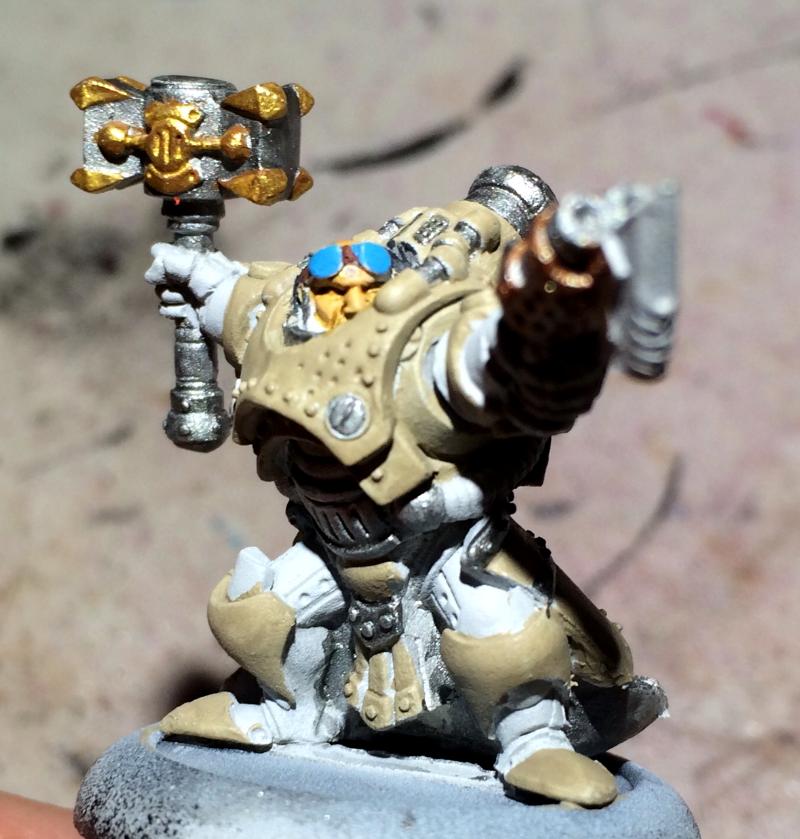
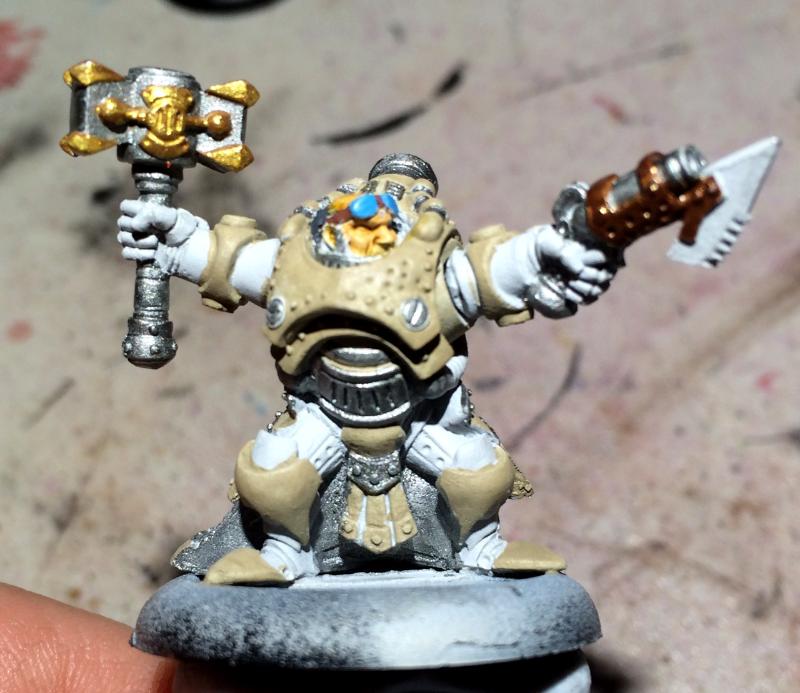
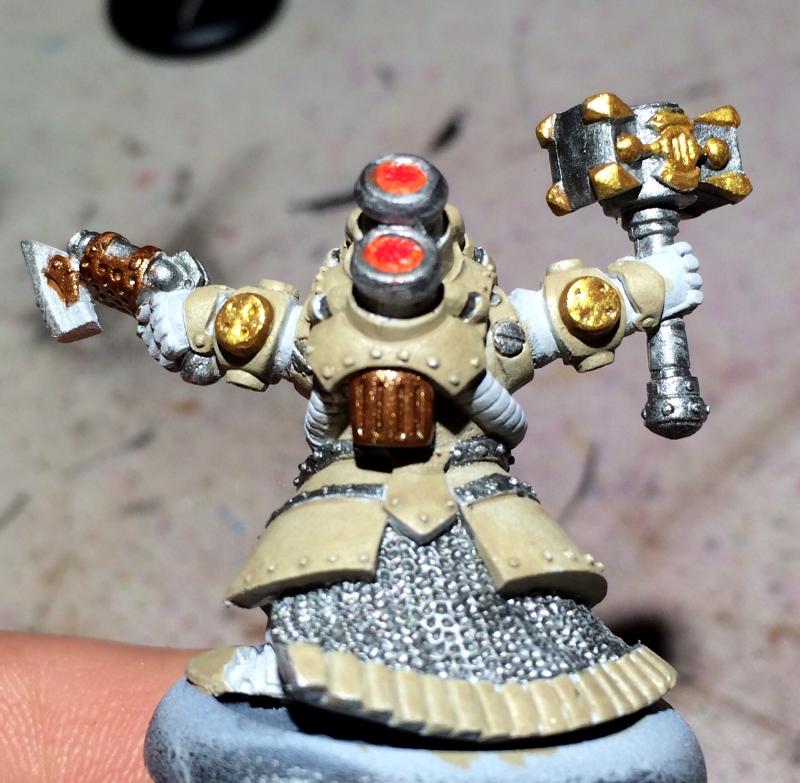
Gorton 2.0
The old school painting is well underway. I was able to add the second khaki color to the inner parts of his armor tonight I used the old GW Bleached Bone. It's a good complimenting color for the P3 Khaki. I also added some subtle highlights to the armour and the white highlight on his goggles. I painted the base and put down some black sand to give it an scorched earth look on the base. Now he is sitting there drying from the gloss coat. Then some washes and a re-highlight and he will be done.
Friday, October 3, 2014
Thursday, October 2, 2014
Gorton Grundback 1.0
Earlier today I posted about bending the needle in my airbrush. Well the new needle is on the way and it should be here by Monday (Lord willing and the creek don't rise).
I decided to go old school and work on a model by hand with a regular old hair brush. I picked Gorton. Mostly because I think it is a cool looking model. It has good large open flat spaces and interesting details. I spent about 2 hours on this tonight and I really like where this is going.
The Khaki is from P3 (name escapes me right now). The gold is Vallejo Model Color Gold. The Skin tone is Reaper Light Flesh with Secret Weapons Miniatures Flesh Wash, which I am really falling in love with. The silver is P3 Pig Iron and is fast becoming my go to for Gun Metal. Last but not least, the brass is Vallejo Game Air Brassy Brass.
These is a lot more work to do on this guy. Lets see if I can beat Amazon.com and finish him up before the new needle gets here.
Earlier today I posted about bending the needle in my airbrush. Well the new needle is on the way and it should be here by Monday (Lord willing and the creek don't rise).
I decided to go old school and work on a model by hand with a regular old hair brush. I picked Gorton. Mostly because I think it is a cool looking model. It has good large open flat spaces and interesting details. I spent about 2 hours on this tonight and I really like where this is going.
The Khaki is from P3 (name escapes me right now). The gold is Vallejo Model Color Gold. The Skin tone is Reaper Light Flesh with Secret Weapons Miniatures Flesh Wash, which I am really falling in love with. The silver is P3 Pig Iron and is fast becoming my go to for Gun Metal. Last but not least, the brass is Vallejo Game Air Brassy Brass.
Sad day. I dropped my Patriot 105 and bent the needle.
So looks like no updates on the airbrushing for a few days until a new needle gets here from Amazon.
In the meantime I think I am gonna paint a model from start to finish the old fashioned way, by hand with a hair brush. Lets see how I do.
I'm thinking its gonna be a war caster of some sort. Maybe a tiny little Rhulic Caster.......
Stay tuned.. interesting things might happen.
Tuesday, September 30, 2014
Gorman.
I felt like painting something tonight. I was not in the mood to be technical or do a tutorial, or really care if I stayed in the lines. I just wanted an easy model that would look decently good on the table top. Low and behold, there he was just sitting on my painting table, primed up from a month or so ago daring me to slap some paint on him.
Now if you are not familiar with Gorman from the PP line he is usually done in really dark tones, sometimes with OSL off the vials on his belt. Sometimes done up like Dark Wing Duck (which I find very cool). But for me today this model was something I could paint up in about an hour, be done with and have it be table top quality.
I used PP Cryx Bane Base on the cloak, PP Pig Iron for the metal trim and all the other metal bits. Vallejo Game color Electric Blue on the vials, and goggles, Vallejo Model Color Carmine Red on the sash/throat thingy. and Vallejo Model Color Mahogany Brown on for the leather. The brass is from the new Vallejo Game Air line Brassy Brass and man is it pretty in person. Oh and Vallejo Model Color Dark Grey for his cloths. Once dry I hit the brown and red with some of my still coveted Devlin Mud, and the green and grey with Vallejo black shade wash.
He is shiny in the pics because the washes are still drying. I will gloss then matte coat him and call it a day.
The base is a trench base from Secret Weapons Miniatures.
Again this is not anywhere near my best work, this is just something I felt like speed painting for funz.
Sunday, September 28, 2014
Friday, September 26, 2014
Knight Titan 11 - Just about done.
So this bad boy is just about in the books. I hit it with a satin varnish from Vallejo and its drying as we speak. The last Real Water Poor is in and curing as we speak. I'll probably hit it with some Iron Oxide powder from Secret Weapons Miniatures to dirty it up some so its dirty and rusty and we should be done.
The other last thing to do is going to be adding pins to the feet and to the base. The interesting thing is that the feet are hollow so I will have to put a ball of Green Stuff in there and add the rods to it. Then drill into the cork of the base and BLAM....Science.
Also I am having some real professional type pictures taken of this guy on Sunday so expect a picture heavy update Sunday night / Monday day.
Labels:
Airbrush,
Airbrushing,
Aqua Net,
Badger Airbrush,
Game Air,
GW,
Hair Spray,
Inks,
Knight Titan,
Krome. Evolution Games,
Miniatures,
Oil Wash,
Patriot 105,
Pigments,
Secret Weapons Miniatures,
Vallejo
Wednesday, September 24, 2014
Knight Titan Base 2.0 - the pouring of the water.
Well I had some free time this morning so I was able to get the base looking like rock. I used the airbrush to hit it with Vallejo Model Color Black Grey. Then proceed to add a bit of Vallejo Model Color Stone Grey in ever increasing amounts and dry brushed it on to give the rock some "depth". Once that was done it was time to start pouring the "water". I used Secret Weapons Miniatures Realistic Water (because I had a few bottles on hand). It will take several applications because you can only pour about 1/8" at a time.
So this will take a few days to build up all the way and spill over a bit.
But for now have some shiny new pictures.
Here is what it looked like after the dry brushing.
Here is the first pour.
Making sure it looks good on the base.
From the back.
Looking down.
And the wide shot for funnzies.
Subscribe to:
Posts (Atom)