Knight Titan 4.0
Oh yea. I'm back from a 24 hour shift and I got to rock and role on the Knight Titan a bit.
The gloss varnish was dry and ready to go. I sprayed everything down with hair spray (Please let me say this again, you have to use cheap hair spray. The good stuff just doesn't work. Go down to the dollar store and get a huge can of Aqua Net, it will last you forever and does not smell half bad!). The hair spray needs time to dry, like a few hours time. It will dry a bit sticky and that is just fine.
As an aside I have seen tutorials where people spray the hairspray from the aerosol can into a medicine cup and then put it into the airbrush to aerosol it onto the model. I'm not sure why they do this as its kinda the same thing and looks like a few extra steps including breaking down your airbrush for a deep cleaning.
Ok let's get back on track. I taped off things that needed taping off with Tamiya painters tape. It's low tack and the best stuff for models around. I generally use the 0.25in but it comes in bigger sizes as well.
Then it was time to put the first coat down. I went with Lytch Purple from the old GW line. It's a really nice regal purple and its the only one I had on hand. One lesson learned is that purple is really bad at covering orange and needed a few more coats than I had anticipated.
Group Shot
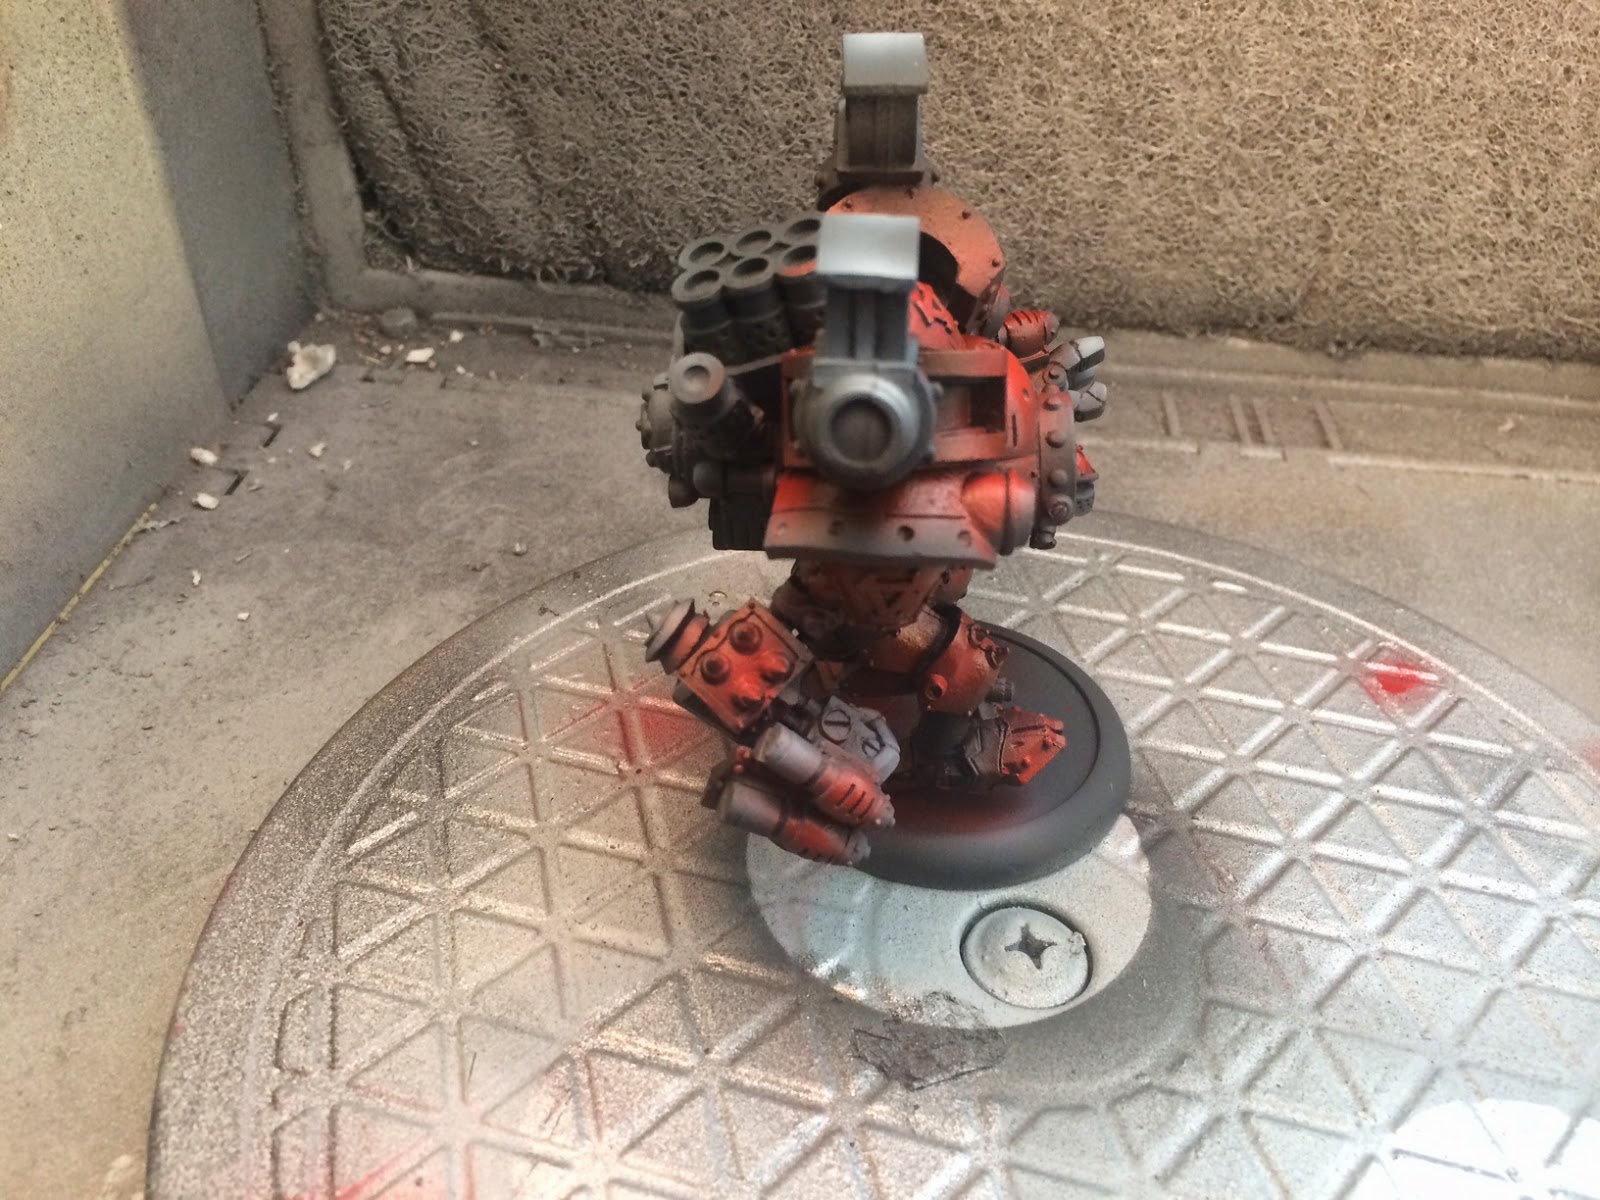
The Back
Carapace and Chain Sword
Shield
You might also note that I only sprayed half the leg guards with purple the other half will be another color but you will have to wait and see what that one will be.
Dem Leg Guards!
So what's next you ask? Well I am going to let this all dry over night and spend some time with the wife before my next 24 hour shift tomorrow. After that I will start working on blending in some dark red on the purples and see if we can get a good smooth blend/transition so that we get a good deep red on the higher pieces. From there I will get to the silvers. and the other colors.
Stay tuned. More to come this week.